The bokeh effect in photography or mastering the background blur
Last update: 04/19/2024
Our blog continues to grow thanks to you, our readers. This post may contain affiliate links, which means we can earn a small commission if you make a purchase through them, at no extra cost to you. This helps us to continue to bring you more and support our work!
Whether you’re a complete beginner in photography or you’ve already bought your first DSLR and want to progress in photography, this article is for you! You’ve undoubtedly already stumbled upon some great pictures with a beautiful background blur, haven’t you? It’s also known simply as the bokeh, the Japanese word for background blur. This article is the continuation of the one about depth of field in photography.
The main goal of this photographic technique is to highlight the subject by making it stand out in the photo thanks to an artistic blur. Are you wondering how to create this blur? How to separate your subjects from the background? What are the parameters to know about your camera to make a beautiful background blur? Did you even know that you can influence these blurred areas yourself, as well as the tints, colors, lights? I give you all these photography tips in this article.
The bokeh or background blur effect: some definitions
Before explaining how to make a nice bokeh technically, here are some things to know.
As explained in the introduction, the bokeh generally refers to the blurred area of the image, often located in the background. I say generally often, because it is possible to make a nice bokeh in the foreground on purpose in some shots. However, it should be remembered that the term is often used to precisely characterize the quality of this blur. You’re going to tell me, a blur is a blur, right? No, it’s not as simple as that.
The quality of a bokeh depends on several things, including the quality of the lens you use. All lenses have small blades that constitute the diaphragm of your lens. Concretely, these blades open and close according to the aperture you choose when you take a picture.
It is no coincidence that lens manufacturers often emphasize the number of blades in the lens. Generally speaking, everyone agrees that the more blades a lens has, the better the bokeh will be. For example, if you compare a Canon 50mm, the 50mm f/1.8 has 5 blades while the 50mm f/1.4 has 8. Indeed, the prices almost triple.
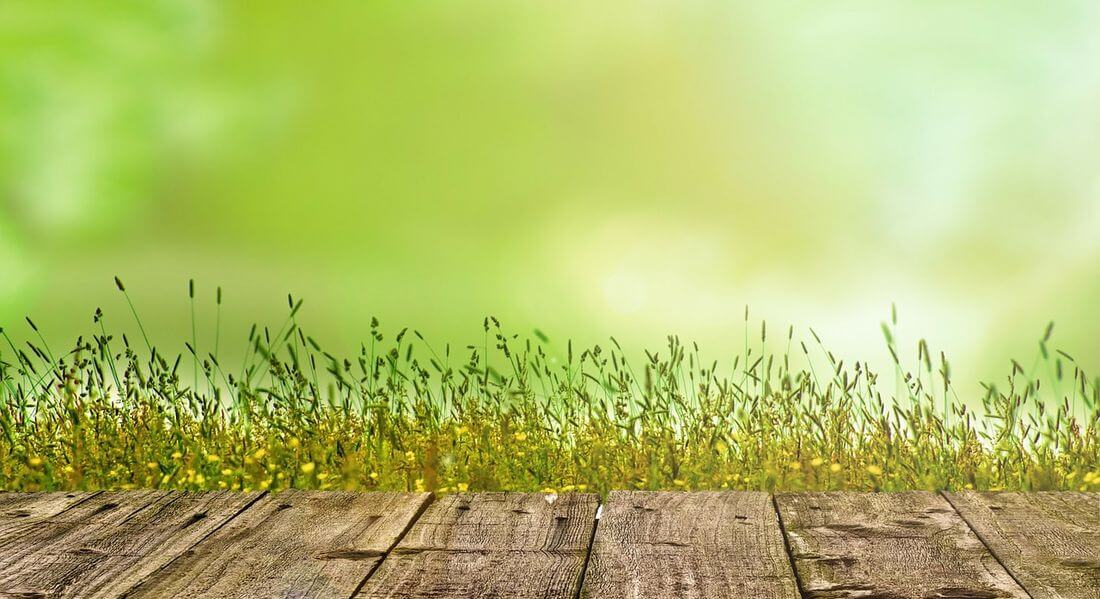

Usually to blur the background, you will shoot at full aperture (the smallest f/ you have). Depending on the number of blades, the blur spots in the background will be more or less circular and therefore more or less aesthetic. The bokeh can be characterized as “soft, creamy, hard, nervous, etc.” all adjectives that can characterize its quality.
What influences the bokeh or background blur?
A quick reminder of the elements mentioned in the article on depth of field. Here are the five main points to know in order to be able to achieve background blur.
The aperture and the bokeh
This is the pre-determining element to get a nice background blur: shoot at full aperture. By opening the aperture of your lens as wide as possible, you can blur the elements outside the focus area, either in the foreground or, very often, in the background.
However, the choice of a lens according to its maximum aperture is therefore relevant, in the sense that the brighter your lens is (= the larger the aperture = small f/), the more you will be able to:
- Take your picture quickly (I remind you that aperture and shutter speed are related),
- Blur your background. It’s not for nothing that the price of the same lens at f/2.8 is twice as expensive as a lens that only opens at f/4.
Bokeh and focal length
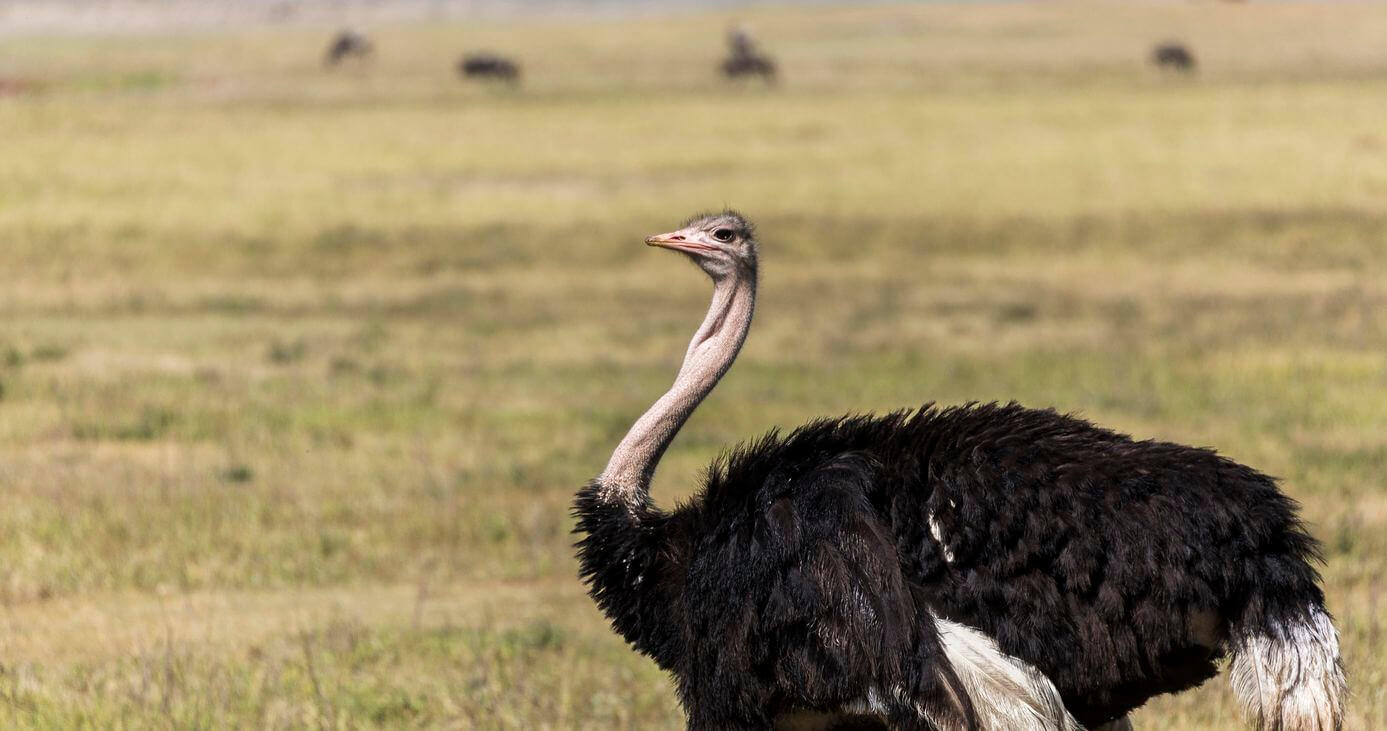
Another point to know in particular to create a beautiful bokeh is to choose the right focal length. Remember the following element, the longer your focal length will be (example: 100mm, 200mm, 300mm), the easier it will be to create a nice background blur.
You will often need to move back from your subject because your long focal length lens won’t allow you to get that close. As a result, you’ll need to back up and then zoom in, which reduces the depth of field of the scene and increases your blur.
By the way, if you want to know more about these topics, I invite you to read our article detailing our best tips for long lens photography!
The distance from the background
This distance from the background is also essential to know. The farther your background is from your subject, the more blurred area you’ll have on your picture. So think about the possibilities if you move away from your background. We’ll talk about this below.
The distance between you and the subject
Also be aware that the background blur will be influenced by the focusing distance of your subject. The closer you are to your subject, the more beautiful background blur you can create. You can test this by shooting the same subject at a distance of 30cm and then of 2m. You will notice the difference.
The sensor and the bokeh
The last technical point influencing your blur is the size of the sensor of your DSLR camera. The larger the sensor size (full frame), the more blurred the background will be (with identical framing and adjustment). This is one of the reasons why making a nice background blur with a smartphone or a compact camera is almost impossible. The sensor is simply too small. Conversely, the smaller your sensor is (aps-c sensor), the greater your depth of field. This is ideal, for example, for taking pictures of landscapes.
Practical tips for making a good bokeh
Once you know the 5 points that allow you to vary your depth of field and thus create a nice bokeh, here are some more practical tips and tricks for the field.
Let’s look at it in two different ways, you may wish to:
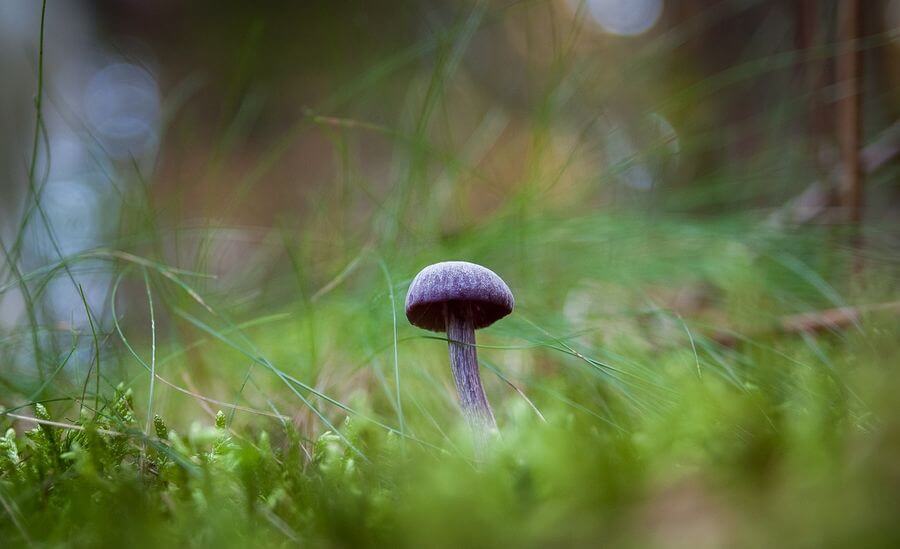
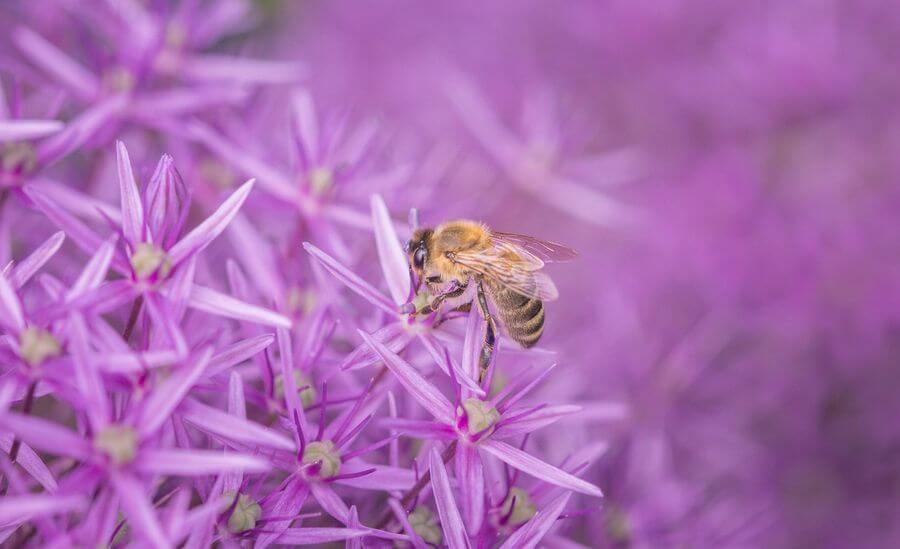
- Blur your background as much as possible to make your subject stand out. This is often the case in wildlife photography (with long focal length), bird or insect photography, in macro photography or on a specific subject,
- To give an aesthetic effect to your photo by suggesting the background. Extreme blurring is not always the only way. Indeed, you may decide to blur a scene slightly (voluntarily) for an aesthetic effect. This is very often seen in food photography, all repetitive subjects (poppy, lavender or sunflower fields), night photography with beautiful colored lights in the background, etc.

Technical advice
Here are some purely technical tips that you can master during your shooting session. Since you cannot influence the size of your sensor, remember the following 3 points, to make it simple:
- Use the longest focal length you have and zoom in with your lens,
- Open your diaphragm as wide as possible (as small f/ as possible),
- Place yourself as close as possible to the subject (if you can’t focus…you’re too close),
A small technical aside: be careful when using a long focal length (e.g. 250mm). Even at maximum aperture, it is possible that the ambient light is not sufficient to get a sharp picture. In this case, an increase in ISO is then required to avoid motion blur. To make it simple, put yourself in A/Av mode (aperture priority), zoom in, open your diaphragm to the maximum by turning the aperture dial to the smallest f/ you have. Set yourself to ISO Auto mode, so you don’t have to manage your shutter speed. The camera handles the shutter speed on its own.
Moreover, to go even further, we wrote a full article explaining how to get the best possible sharp and focused pictures.
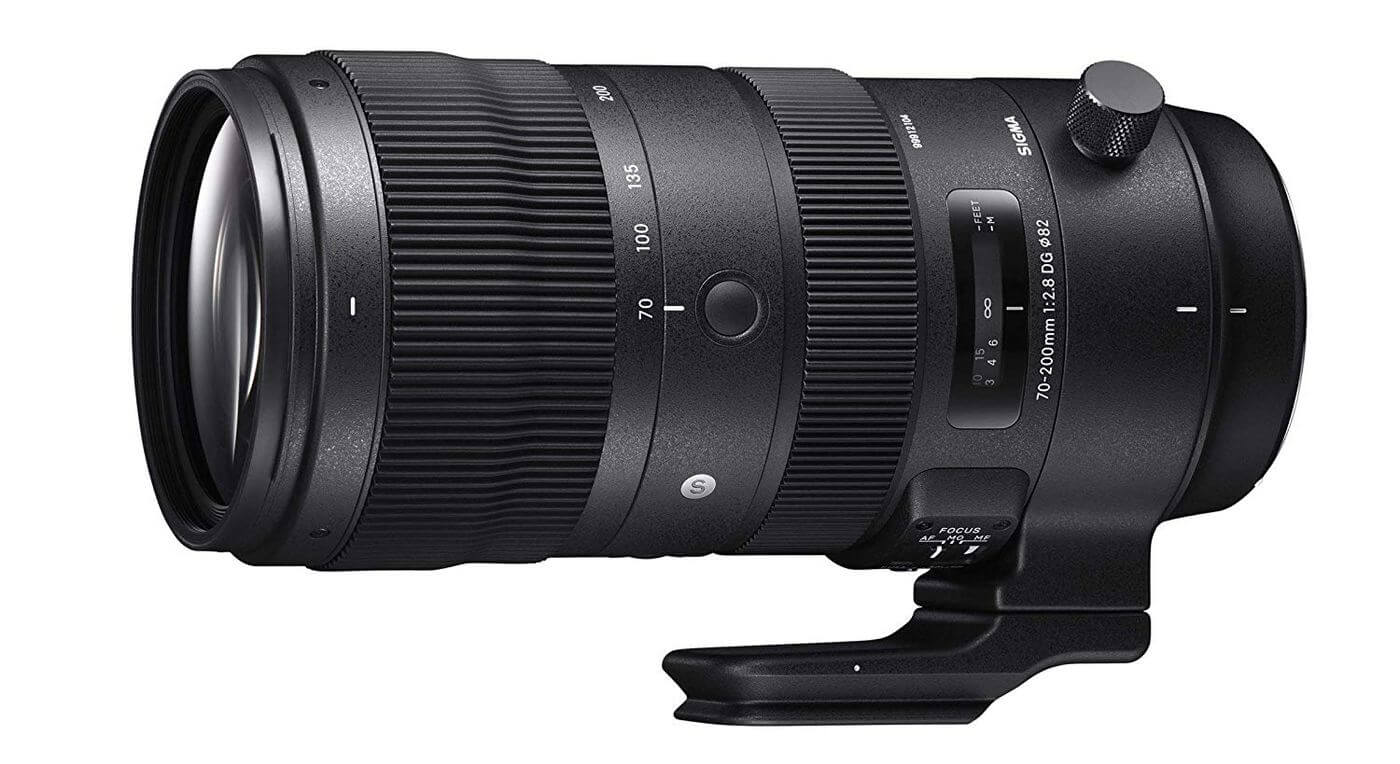
Example of a wide aperture telephoto lens, perfect to get a nice bokeh – Sigma 70-200mm f/2.8 – More details on Amazon
Practical advice
Here are some tips to apply directly in the field to improve your background blur and its quality, having taken into account the three previous tips. My other main advice would be to: move around and watch carefully your background!
- When you have spotted your subject, make a first focus in your viewfinder and take a picture. Take a detailed look at the background. How does it look to you? If the object doesn’t stand out enough, your background is probably too close. Move around to find a better angle,
- Once you have a better blur, you can still choose to move around to adjust the “blurred light points” you can see in the background. Ideally, make sure they don’t blend in with your subject. This is especially noticeable when your background is not that far away and you can only vaguely discern something in the background. If your background was 500 meters behind your subject, the background will be totally blurred,


- You must also want to change locations to choose the color of your background. Depending on the shooting angle and how you shoot the subject, you can have totally different moods. For example, if you choose to capture a mushroom in the middle of a forest, you will have the choice of a green background (with foliage or moss in the background), a black background (earth or other), or a blue background (sky in the background for example). This will be an aesthetic choice,
- Be sure to choose a background with a nice tint that will stand out well. For example, you may choose to shoot at the so-called “Golden hour”, the hours before and after sunrise/sunset. Orange and pink tones will make perfect backgrounds.
Concrete examples of analyzed bokeh
To really understand the notion of bokeh and the thought that can be involved to create it, I offer several pictures with different bokeh. I try to explain the situation as well as possible, what is put forward, what could have been better, etc… Hereafter, I will give you examples from photos I took myself.
What do you think, I think it’s always good to have concrete examples explained simply, don’t you? I know that personally it helps me to understand things quite a lot, often in photography. I hope that after these examples, learning photography will be child’s play!
1 - Wildlife photography
It is often a type of photography where you will want to have a completely blurred background to bring out your subject. However, in some particular situations, you might want to give a larger dimension to the picture. This is for example the case on safari with a photo of an elephant taken posing in front of Kilimanjaro. Another example on safari is a cheetah in a tree against the light, classic for the atmosphere. If you want to go further on the subject, I invite you to read our article on the best tips for wildlife photography.

I took this picture in Thailand with my Canon 70-300mm L IS. It was taken at 300mm, so at my maximum focal length and at f/5.6, my maximum aperture at this focal length. So I almost met the 3 technical conditions, except the fact of being the closest to the subject, because damn it, if you get too close, they jump on you and steal your stuff, those monkeys…anyway.
I’m a few meters away from the monkey. As you can see, I wished to deliberately blur the background (the ground) which was not that beautiful. The bottom is quite blurry overall, even if you can guess that the ground is actually only a few meters away from the monkey. Having only a maximum aperture at f/5.6 didn’t help me to blur the bottom any more. If I had had the possibility to open at f/2.8, the bottom would have been even more blurred. Ideally, I should have moved slightly to find a background further away (not the floor). A background that is farther away would have been blurrier…
Another textbook case is a photo I took in the jungle in Indonesia, on the island of Sumatra. I’m still using the same lens and with the same settings (300mm, open at wide-aperture at f/5.6). The subject is a few meters away from me I think (it’s big an Orang-Outan).

I took many pictures of the scene and as you can see, the background is very blurred, a beautiful light green that clearly shows the orange color of the monkey. Yet you can easily spot the something that ” ruins the picture “? It’s that piece of wood in the background. It would have been ideal without it in order to have a uniform green background.
For example, here is a picture with a nice and relatively uniform bokeh on a beautiful dark green background. The monkey stands out very well and nothing disturbs the bokeh in the background. The background is not completely blurred either (there are a few “white blurred circles” in the background).

2 - Repeated subject: a water lily field
For a repetitive subject, you very often see light blurring to bring out the mood of a scene. I voluntarily chose to remain in Thailand. Here, a notable change, I especially wanted to highlight the water lily field in front of me. You guess without too much trouble that these are water lilies in the background. That’s what I’m talking about above, in the repeated subjects. One might wonder why my background is not so blurred, when the background is much further away than in the first picture of the monkey?

I am quite far from my main subject (the 4 water lilies in the foreground). I shoot at 300mm so at my maximum focal length and most probably at about ten meters from them (or more, I don’t know). As explained above, the focusing distance with the subject is important to create a nice background blur. If I had been 1m away from the same subject, I would have essentially had a blurred background too, like in the picture with the monkey.
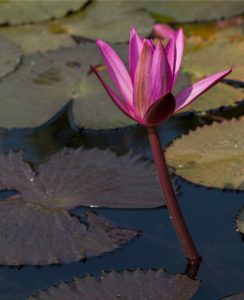
At the same time, I tried to do a close up. That’s what I consider to be a lousy picture or almost. Why is that? I’m certainly much closer, at maximum aperture, but you’ll notice that I didn’t bother to move around to place my background in the distance. Well, it’s a pond, so I would have had to get down to the ground to get a blurred background. But considering the angle of the shot and the background very close (water) to the subject, the bokeh couldn’t be that beautiful.
In the end, the subject stands out a little from the water but very badly overall. It would have clearly deserved a better framing to improve my background…
Here is an example of a water lily picture that I consider to be very good. The atmosphere is not the same as in my initial picture. The objective here is to isolate the subject by highlighting it and blurring the background. You’ll notice that the person who took the picture bent down at the height of the subject, at the water’s edge. The background is far away, which blurs the background to some extent. To make a fuss, it would have been better to shift the angle slightly when taking the picture, in order not to include that brown stripe at the top of the picture which is not very aesthetic. By shifting a little, it would have been possible to only see this beautiful green apple color in the background of the water lily.

3 - Food photography
For food photographers, things are a bit different and there are several styles that are used. Although, very often in food photography the background is never completely blurred. The background is usually left to the imagination by highlighting a specific subject in the scene. Technically, the background (often a plate or a table) is not very far from the subject. Remember that the closer your background is to your focus area, the less blurred it will be.

Here is an example of presentation with some fruit. You can clearly see that the background is not entirely blurred. You can guess what’s in the background, but the effort is to try and highlight, with perfect sharpness, the slice of orange on the left and the blackberries/roses in the foreground. For instance, the photo has a shallow depth of field and the slice of apple is already blurred behind.

Another perfect example of a culinary picture. The person deliberately chose to blur the gooseberries (I would think) in the background by suggesting that they were the source of the juice, which has been revealed through this picture. Only the glass topped with berries in the back is blurred and the photo works perfectly. The same photo without the blurred gooseberries in the background, would not have had the same impact.
4 - Portrait photography
In a large majority of cases (outside the studio with backgrounds chosen voluntarily), the subject is what needs to stand out as sharply as possible and therefore blur the background as much as possible. One of the excellent lenses at Canon is the 85mm f/1.2 L.
To illustrate my point, here is a comparison of the 3 bokehs on the three Canon 85mm lenses, with respectively a maximum aperture of f/1.2, f/1.4 and f/1.8. I’ll let you decide which one is the most expensive… As you can see, the “blurred circles” in the background are much more transparent and much less sharp than on the f/1.8. It’s a detail, but for many professional photographers, it counts.
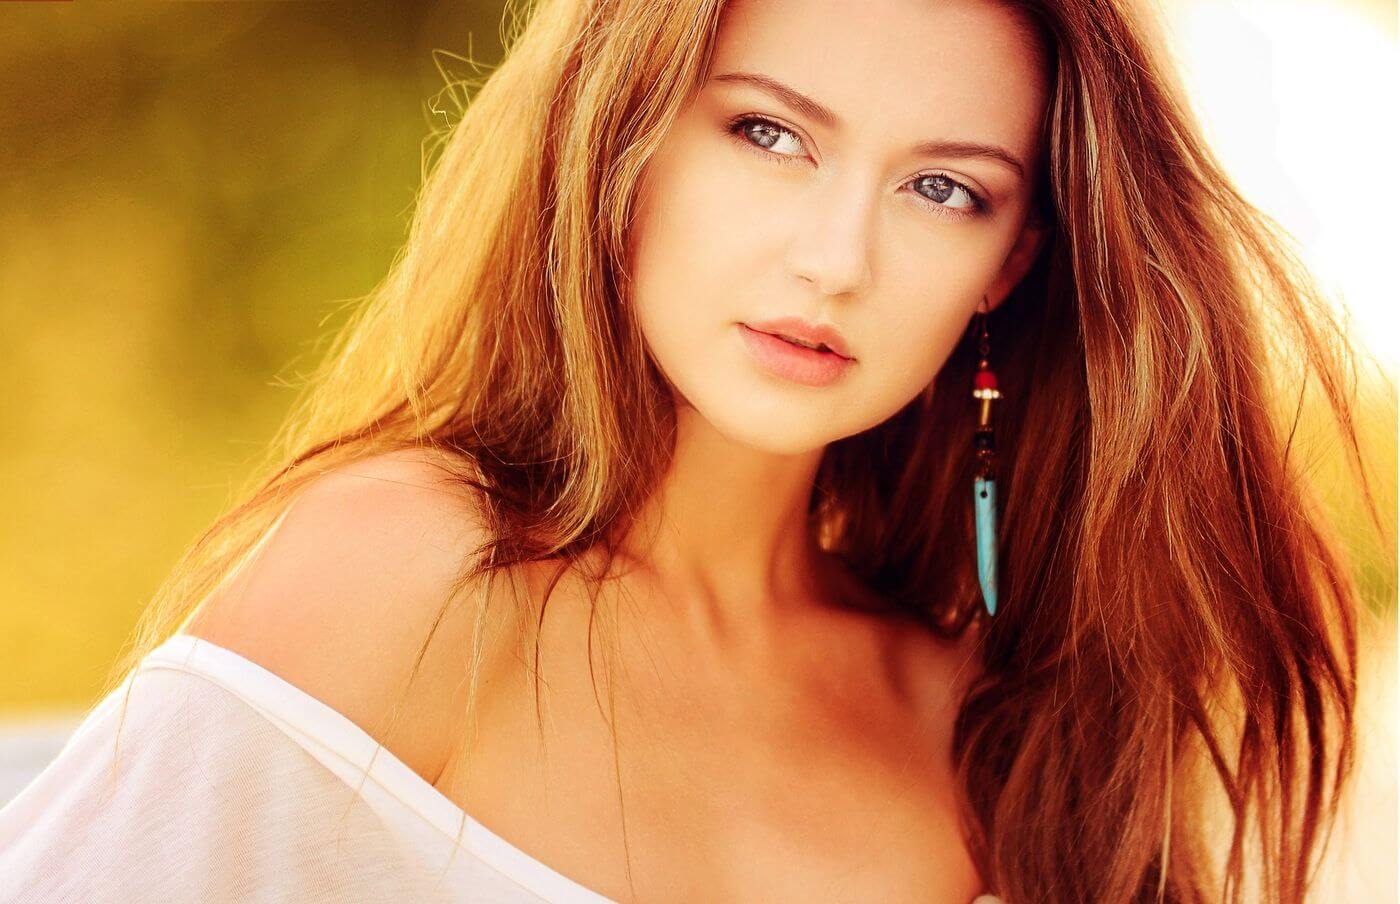
Here is an example of a superb portrait most certainly shot outdoors. As you can see, the background is completely blurred and has a beautiful orange/yellow hue. It is certainly a deliberate choice when the picture was taken, which must have been in the late evening. I almost regret the “white end” at the bottom left of the picture which attracts a little bit too much attention…
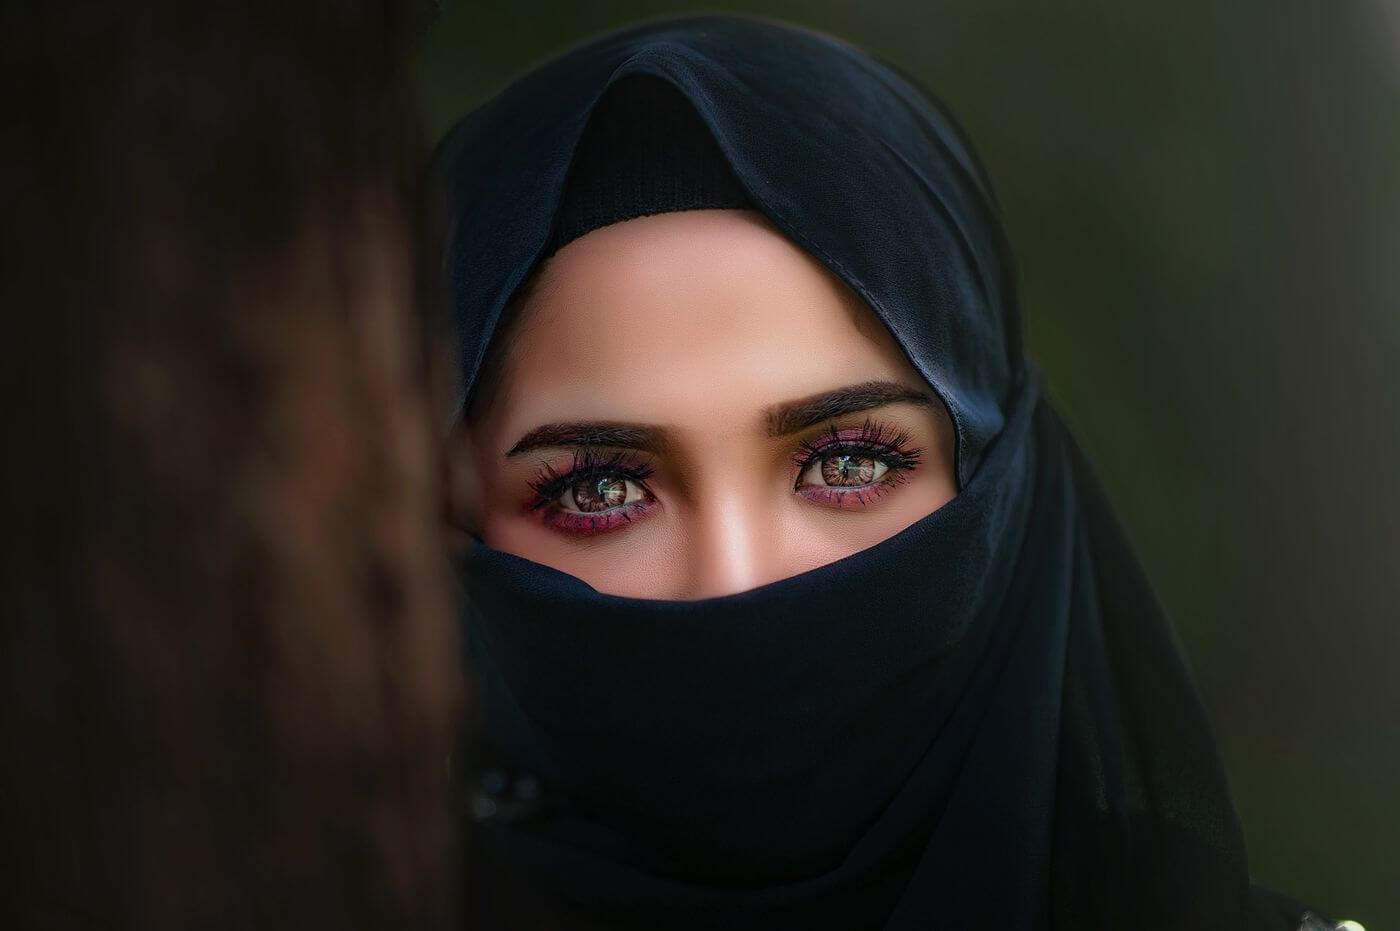
Another beautiful example, in a very different atmosphere. Here is a portrait with a perfectly blurred background. You can’t even see anything anymore, which probably means that the background is quite far away (not to mention the fact that the picture is probably taken at wide aperture). A choice has been made to voluntarily place the subject behind a tree so that you can see it’s in the foreground. The latter is also nicely blurred.
5 - Bird photography
I’ll end with this particular category. It’s even more true that in wildlife photography, we almost always look for the perfect blurred background, the perfect bokeh in other words. Something soft, well lit and pretty to the eye.

Here’s a great classic, a telephoto shot of a kingfisher. Notice how the blur is perfect, bright and soft. Nothing disturbs the view of the subject. This type of photo is taken with a large telephoto lens (usually a focal length of 400mm or even 600mm) and very often a very large aperture (type f/2.8). The kind of lens that costs several thousand euros.
The superb picture above is by the one of my photographer friends Martin Itty. I really invite you to have a look at his portfolio. He creates some beautiful pieces.

Here in comparison is another picture of a kingfisher. If you are beginning to get the hang of it, you should see several things:
- The bokeh is less blurry than in the first photo, a little harder overall,
- The color of the bokeh is not ideal to bring out the subject,
- Last but not least, you see things in the background that catch the eye, clear lines. As mentioned before, it’s not very aesthetic, not to mention the fact that they fall right behind the bird. They are simply branches most likely located closer than the green background of the background. If they had been at the same distance or almost, they would have been more blurred. If the shot had been prepared by the photographer by hiding behind a shelter for example, it would have been interesting to make a test shot by focusing on the piece of wood. These branches would have been immediately visible in the background. We could have moved slightly or varied the framing to exclude them, or even evacuate them by hand. It might make you smile, but if you’re interested in photography, you’ll often have to cut a branch or some grass to prevent them from getting in the way of your photo.
That’s it, I finish this article on the bokeh with these examples that I hope will have helped you to better understand how to make a nice background blur in a photo and what are the parameters to take into account. You will have understood that making a nice bokeh is not that simple and you will need a few tries to master the notion. In any case, it’s a very interesting photographic exercise to do that requires a lot of patience and practice: knowing how to frame, capture a background atmosphere, crop adequately, attenuate the light source, etc.
Fans of post-processing/post production with Photoshop will tell you that it is now possible to obtain such blurring with a photo editing software. This is certainly true, but I prefer to spend time behind my camera than my computer, don’t you?
In the meantime, if you are a fan of photography and discovery, I invite you to come and read the article on the best photography travel tips. You will undoubtedly learn a lot!
How did you find these photo tips? Too technical? Clear? Very good with concrete examples? Tell me all about it
I’ll see you soon,

Written by Sylvain PONS
I've been passionate about photography since 2010, learning as I went along. Today, I dedicate myself to guiding others in their choice of camera gear and sharing a variety of tips to improve their photography skills.
Despite our care, a mistake may have slipped into this article. If you find any, please don't hesitate to let us know so we can correct it as soon as possible and keep our information up-to-date!


