Understanding metering modes in photography
Last update: 06/22/2026
Our blog continues to grow thanks to you, our readers. This post may contain affiliate links, which means we can earn a small commission if you make a purchase through them, at no extra cost to you. This helps us to continue to bring you more and support our work!
If you’re new to photography, if you’ve only had your camera for a short time, or if you’ve already browsed through your camera’s user guide, you’ve probably come across the idea of exposure metering.
You have probably already heard about exposure in photography. Put simply, it is the amount of light in a scene that your camera sensor captures, and it determines how bright your photo will be. You might be thinking: fine, but so what? The important thing to understand is that your camera does not measure the brightness of a scene at random.
This is where metering modes come in. There are basically three different metering options your camera can use — or rather, that you can choose — to evaluate the brightness of a scene. One of them works very well in most simple situations, while the other two are often useful in lighting conditions that are harder for your camera to handle.
Be careful not to mix everything up: metering modes will not magically solve every underexposed or overexposed photo. What they do is tell your camera which areas of the image should be given priority when measuring light. Exposure metering therefore helps your camera decide which parts of the frame matter most when calculating exposure. Let’s take a closer look at the three classic exposure metering modes generally found on DSLR cameras, mirrorless cameras and, more rarely, some bridge or compact cameras.


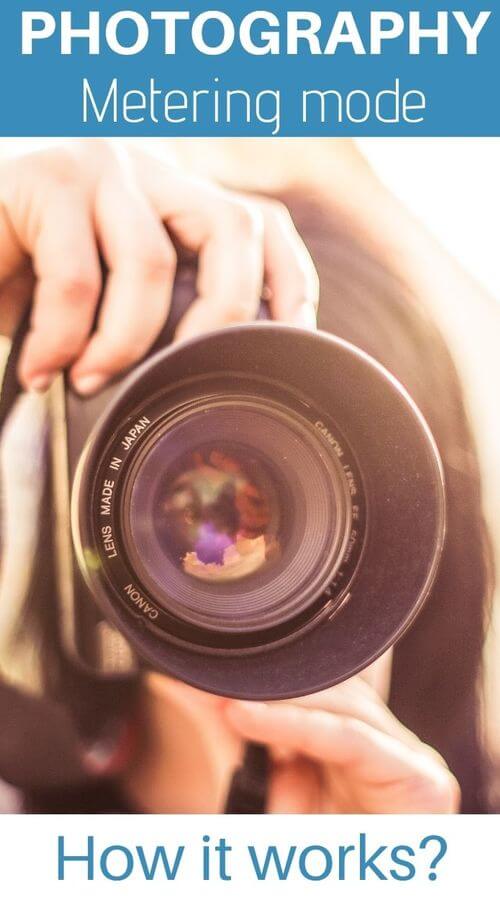
1. Matrix metering or evaluative metering
This is the default exposure metering mode found on almost all digital cameras. It goes by several names: matrix metering (Nikon), multi-zone metering (Pentax & Sony), multi metering (Fujifilm), multiple metering (Panasonic), evaluative metering (Canon) or digital ESP metering (Olympus). Whatever the name, the principle is broadly the same.
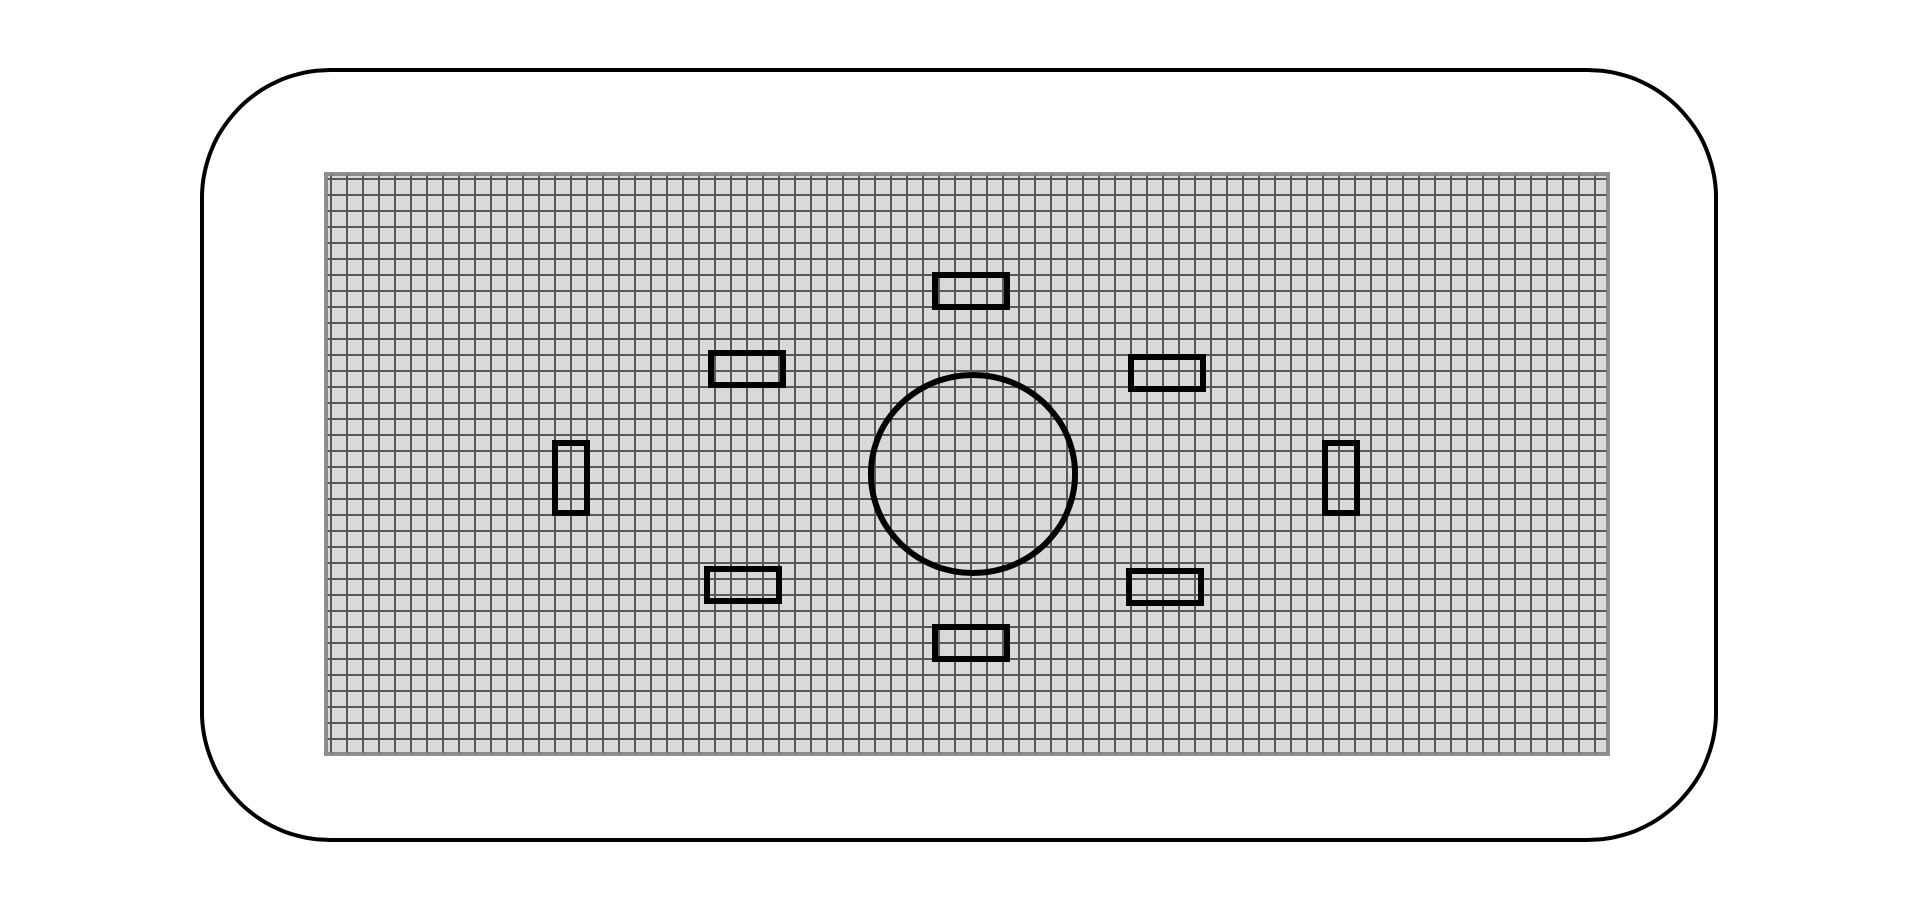
Generally speaking, this is the exposure metering mode I recommend when you’re starting out in photography, while you’re still getting familiar with the other key concepts, especially exposure (ISO, aperture and shutter speed). The principle is simple: with this metering mode, the camera evaluates the brightness of the entire image. It then tries to determine the overall “correct exposure” for the scene, without favoring either the dark/black areas or the bright/white areas. To put it simply, it does its best by analyzing the different brightness levels in your scene.
People often say that this type of metering works in 90% of situations, and I have to admit that it is the mode I use most often. In very specific lighting situations, I may switch to one of the other two modes.
The only drawback is that, on some cameras, autofocus lock and exposure metering are linked. In some cases, this can mislead the metering system, although in practice, I have never found it to be a major problem.

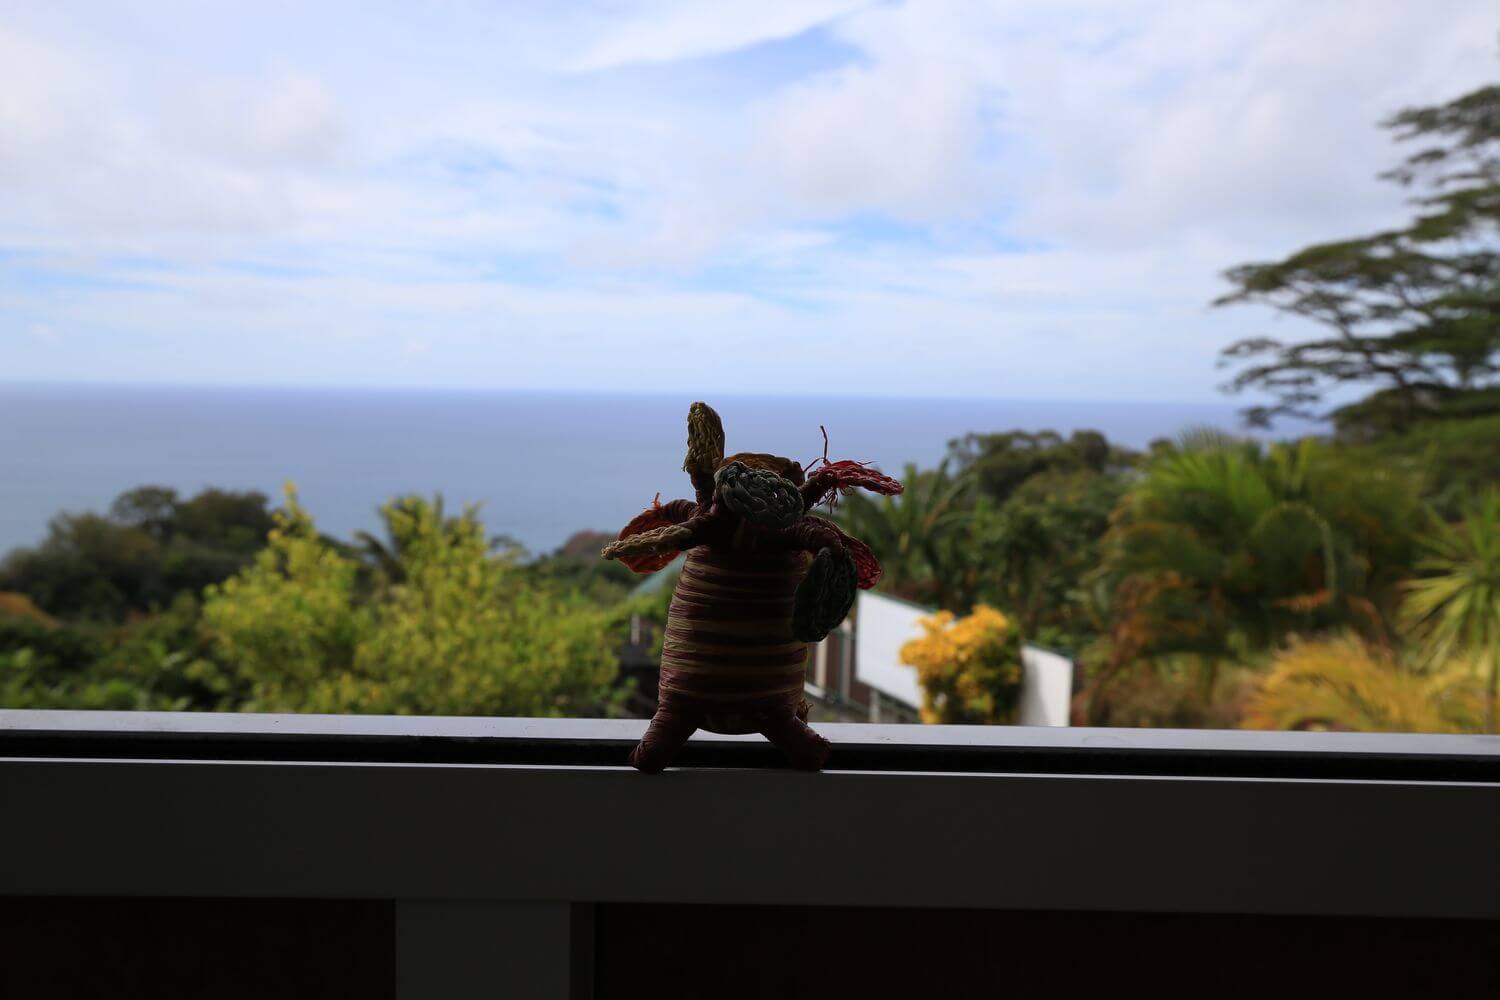
The photo above shows an example of a shot taken with this type of metering. I deliberately chose a tricky situation: a subject (a small braided tree that I brought back from Madagascar) photographed against the light, with strong light in the background. As you can see, the camera tried its best not to “burn” the bright areas of the image (the sky), while also avoiding making the already dark areas even darker. It tried to find a workable compromise for this backlit scene.
Sometimes, however, this basic setting does not measure the exposure of a scene correctly. Because a sensor has limited dynamic range, it cannot always expose both highlights and shadows properly at the same time in very contrasty situations. As a result, it may underexpose when the scene contains a lot of highlights (as here, with the sky), or overexpose when the scene contains mostly dark areas. This is where the other types of metering come into play.
2. Center-weighted metering
Alongside matrix metering, you also have center-weighted metering (Nikon, Sony, Olympus). Other brands may use slightly different names. This metering mode works a little differently, as it gives priority to the areas close to the center of the image. Overall, it sits somewhere between matrix metering and spot metering, which we’ll look at next.

This is a mode I personally use very little. I usually choose either matrix metering or spot metering. Below is the same picture, taken with this metering mode.
As you can see, the result is even darker than with matrix metering. This is mainly because a large part of the center of the frame is occupied by the sky, the sea and the tops of the trees, all of which are well lit. If I had lowered the framing to place the horizon on the upper third line, the sky would have taken up less space, and the exposure metering would probably have been better.
3. Spot metering
The last metering mode that can be useful in certain specific situations is spot metering. With this mode, the camera bases its light measurement on a very small part of the image (less than 5%). The idea is to expose the subject correctly without taking the rest of the image into account.
If the rest of your image is much darker or much brighter than your subject, using this type of metering can heavily overexpose or underexpose those areas. This can lead to areas that are completely “burned” (entirely white) or completely black, depending on whether the subject itself is very dark or very bright. In the days of film photography, the light meter was not always built into the camera body, so it had to be placed either near the camera to measure the overall light in the scene (matrix-style metering), or close to the subject to measure the light falling directly on it (spot metering).
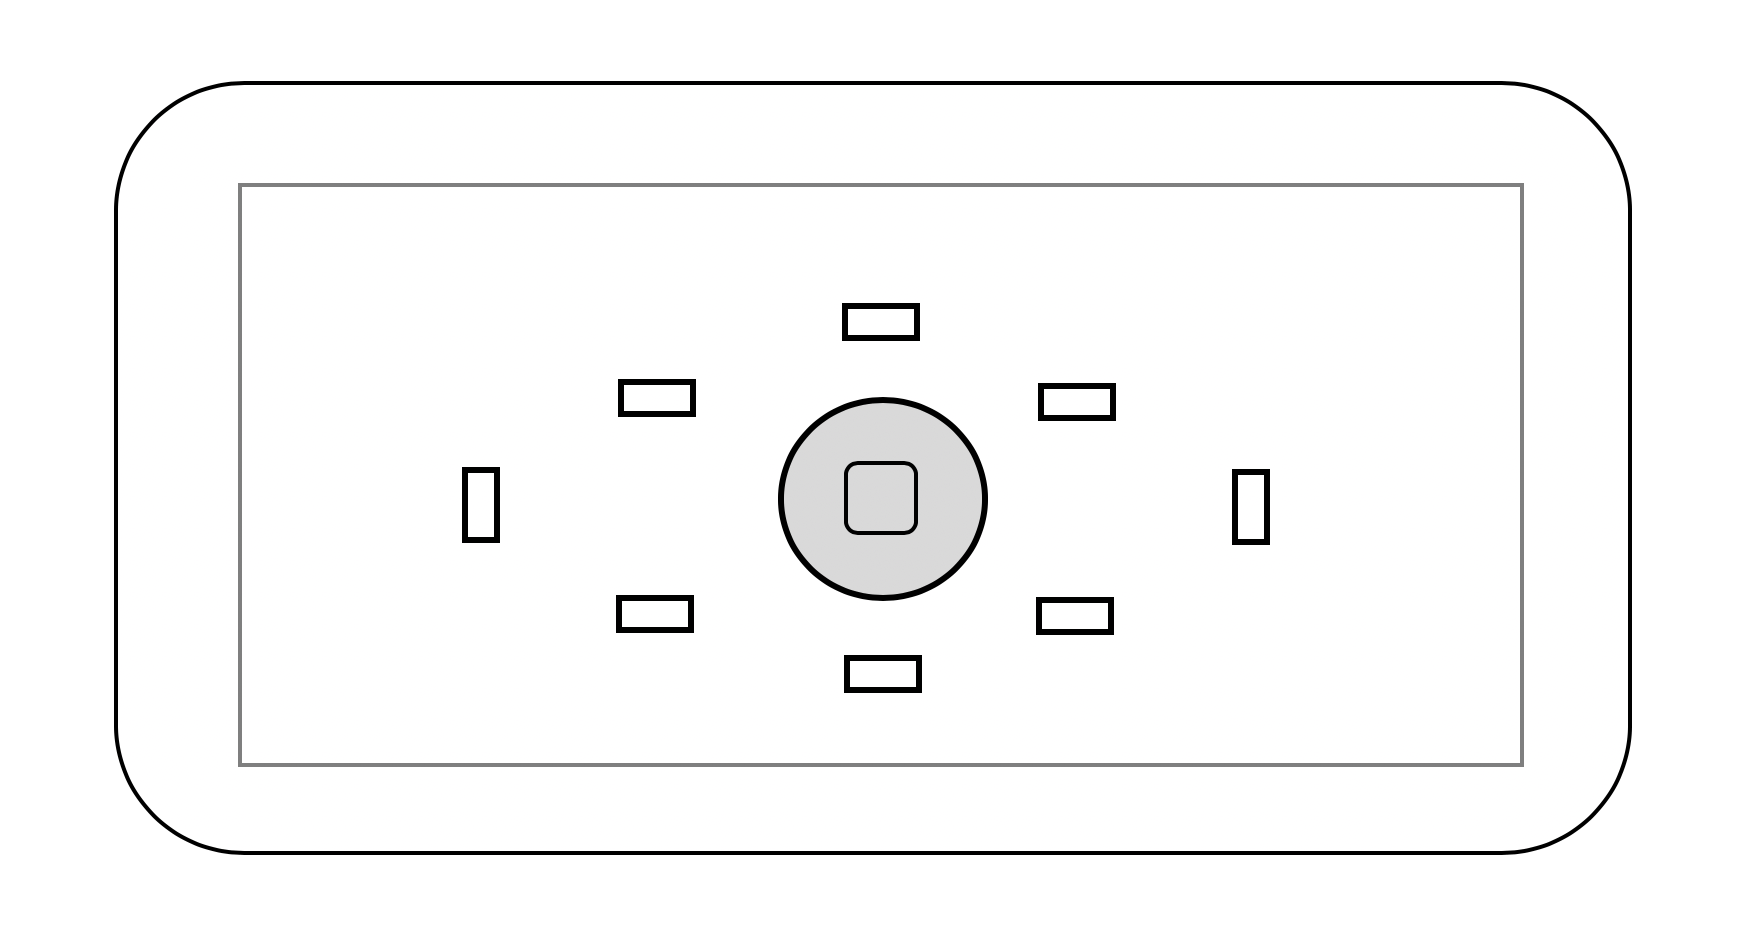
The photo below shows the same scene and subject again. The focus was set in the center, on the subject. As you can see, the subject is fairly well exposed, but the sky in the background is completely white, which is clearly not ideal either. Still, the subject itself is better exposed than it was with matrix metering.

I should add one detail about spot metering. This type of metering varies depending on the camera body and brand. At Canon, for example, metering is based on the central AF points, which can become a problem depending on how you want to compose your scene.
This is a small Canon-specific aside, but here is the idea. Let’s say you want to use spot metering for a sunset, for example, by asking the camera to base its exposure on the clouds rather than on the whole scene. If you use the central focus point and then move your camera to recompose, the camera will not remember the brightness reading and will measure the exposure again after you move it. The trick is therefore to use the * button on your camera body (on Nikon, this is usually called AE-L or AF-L). This is simply called exposure lock.
You can then repeat the same process as before with this button activated, allowing the camera to remember the exposure you measured with the central focus point.
In any case, keep in mind that spot metering is very useful when you want to choose precisely the brightness of one part of a scene.
That is what you need to remember about exposure metering in photography. It is nothing too complicated, but it can really help in tricky lighting situations.
4. Exposure compensation
One final point, quickly, because I decided not to make a separate article about it. There is another way to ask your camera to change the exposure without changing the metering mode. This is called exposure compensation. It may sound like a complicated term, but the idea is actually quite simple. It is a technique mainly used in aperture priority mode (Av/A) and shutter priority mode (Tv/S), not in manual mode, because in manual mode you choose all the settings yourself.
The principle is simple: with exposure compensation, you can “force” your camera to adjust the exposure. In some cases, the camera will not measure the exposure of a scene correctly. This often happens in extreme situations, such as very bright or white scenes (snow photography, for example) or very dark scenes (night, darkness, etc.).

I’ll let you check your camera manual to see how to apply exposure compensation, but in practice it usually involves moving the cursor you see on your screen between -2/0/+2. The idea is to deliberately overexpose or underexpose a scene compared with what your camera measured by default. Pushed to the extreme, it can also create a nice special atmosphere, such as low-key or high-key images.
That’s it, I’m coming to the end of this article on exposure metering in photography. I hope I’ve made things clear enough and taught you something useful. If you want more information or clarification on the subject, please don’t hesitate to leave me a comment at the bottom of the article.
See you soon,

Written by Sylvain PONS
I've been passionate about photography since 2010, learning as I went along. Today, I dedicate myself to guiding others in their choice of camera gear and sharing a variety of tips to improve their photography skills.
Despite our care, a mistake may have slipped into this article. If you find any, please don't hesitate to let us know so we can correct it as soon as possible and keep our information up-to-date!