NISI V7 filter holder review
Last update: 06/23/2026
Our blog continues to grow thanks to you, our readers. This post may contain affiliate links, which means we can earn a small commission if you make a purchase through them, at no extra cost to you. This helps us to continue to bring you more and support our work!
If you’ve been following our travel and photography blog for a while, you’ll know that I (Sylvain) am passionate about camera lens filters. It’s something I’ve always loved and, as I often say, I’d rather spend time shooting behind the camera than sitting at a computer doing post-processing (even though I do understand its value). After previously reviewing ND and GND filters from other brands, I now have the opportunity to test the new NISI V7 filter holder (100mm system).
If you’re still not completely familiar with filters, how they work, and their pros and cons, I invite you to check out our full article on camera lens filters. It covers the main types of camera lens filters in detail: circular polarizing filters (CPL), neutral density filters (ND), and graduated neutral density filters (GND), in other words, neutral-gradient filters.
In this article, I won’t be covering every filter NISI, a Chinese brand, makes, but at the end I will share my opinion on the “True Color” circular polarizing filter (CPL) included in the kit I received. As usual when I work on a partnership, I mention it right from the start. The goal here is to give you my honest opinion on this brand-new filter holder, and I am completely free to write exactly what I think about the product, both in the review itself and in my conclusion.
I should also point out that this is the first time I’m reviewing a product from NISI, although I had mostly heard good things about the brand, especially while researching my article on special filter holders for wide-angle lenses. Of course, this isn’t the brand’s first attempt, and this new V7 filter holder follows the V6 filter holder. So I’m more than happy to finally get my hands on both a filter holder and a polarizing filter from them.
NISI V7 filter holder review
As usual, I’ll start by presenting the gear I received, then move on to the unboxing and installation, and finally talk about using it in the field. At the end of the article, I’ll also show the True Color polarizing filter with a few “with/without” examples and share my thoughts on its quality.
Gear received
I received the complete kit called “V7 Filter Holder with True Color CPL Filter.” At the moment, and as far as I know, this is NISI’s only kit for the V7 filter holder.
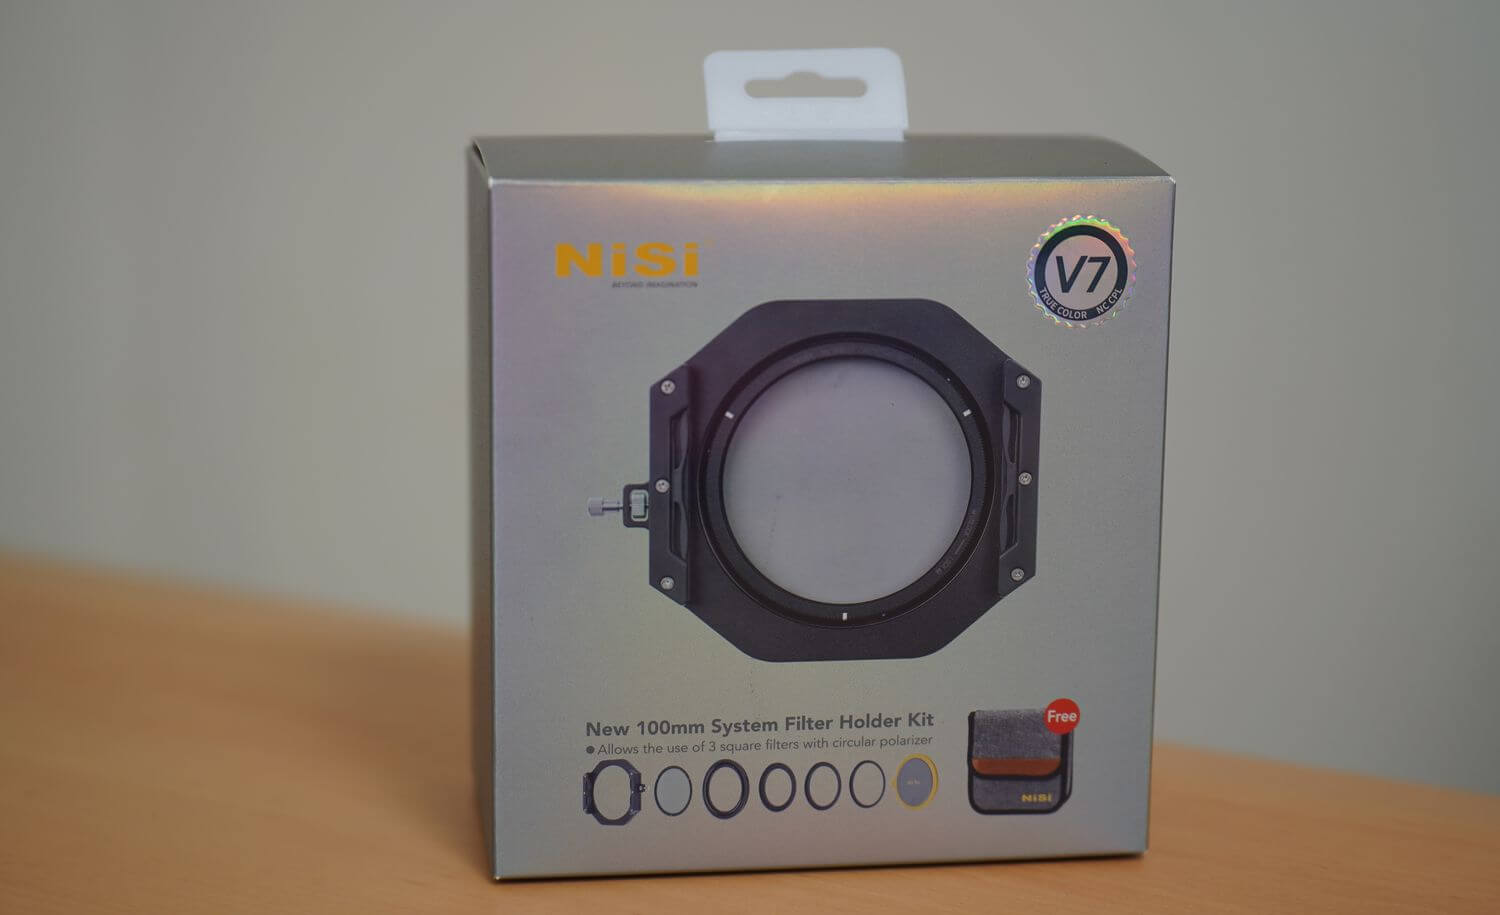
NISI V7 filter holder
Content overview
After crossing the Atlantic Ocean, this eagerly awaited package finally arrived, and it was well packed. Once opened, it revealed the complete kit. The packaging is fairly simple, made from glossy gray cardboard. The writing on the box lets you know that this is indeed the V7 system with the True Color CPL filter. The contents are also listed. I was perhaps expecting slightly more “professional” packaging compared with what I had seen or tested elsewhere, but that’s not the most important part anyway. The following items are included:
- A filter case,
- The new NISI V7 100 mm filter holder system combined with an 82mm main ring on which the polarizing filter (86mm CPL) is mounted,
- A protective cap (compatible only with the V7’s 82mm ring),
- Three 62/72/77mm step-up rings,
- A multilingual assembly manual.
One small point, though: the kit does not include a screwdriver system for unscrewing the filter holder rails/slots. This isn’t a problem for me, since I already have several of these accessories from other filter holders I’ve reviewed, but if this is your first purchase, it’s worth keeping in mind.
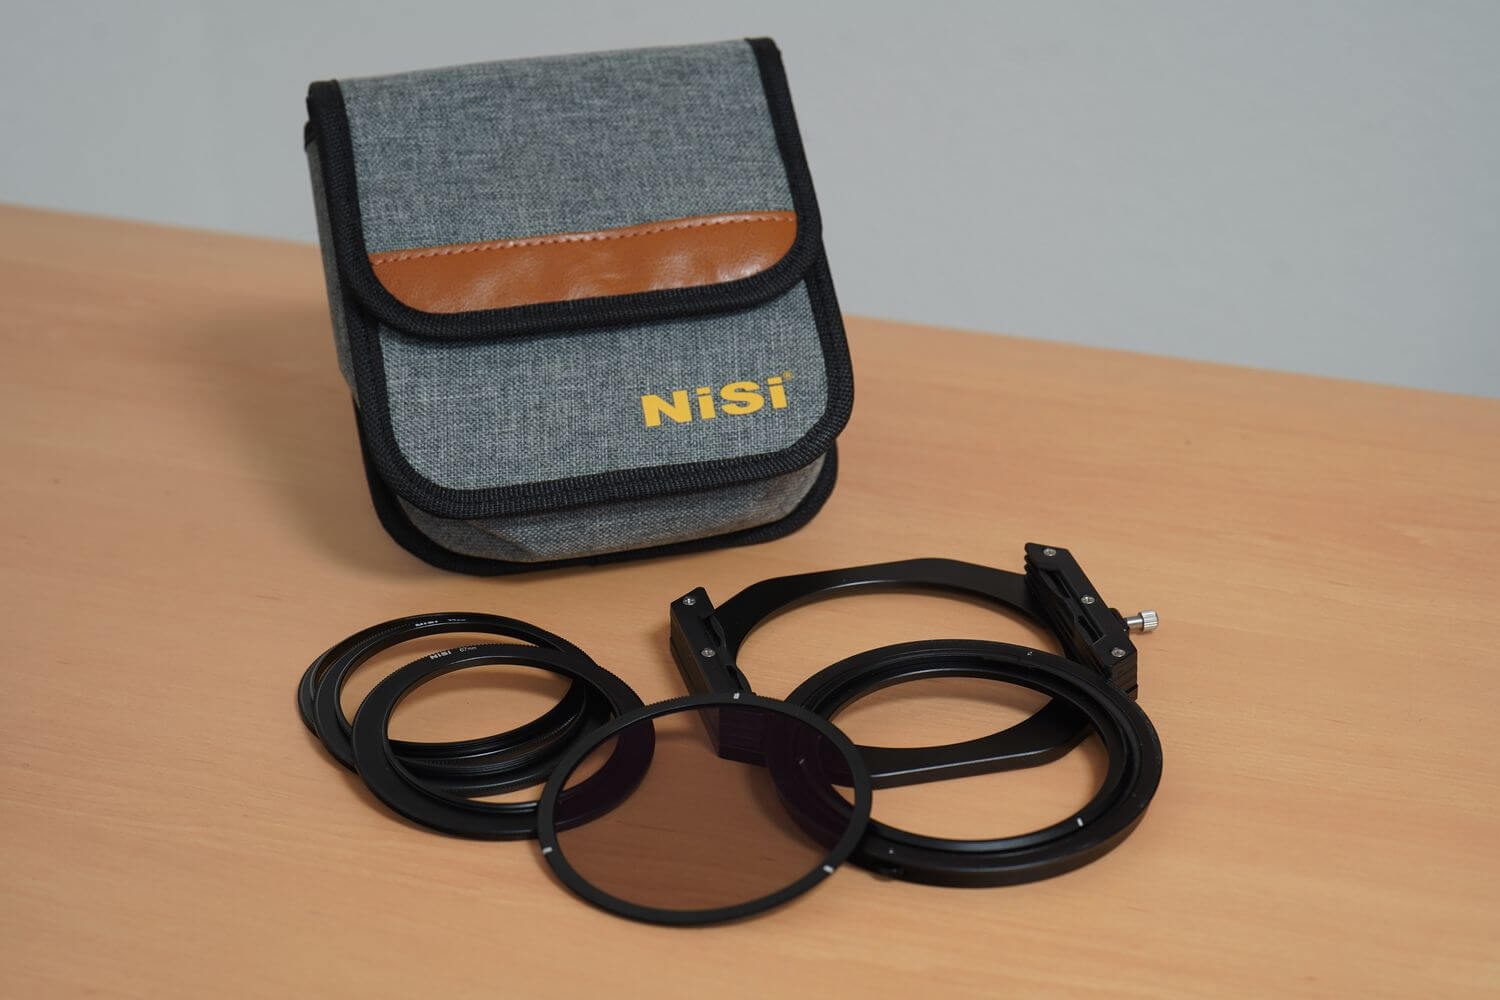
The filter case
The gray filter case appears to be very good quality, especially thanks to its large Velcro strap, which allows it to close securely. The whole thing is very light, seems sturdy, and, conveniently, has a Velcro system on the back so you can attach it to a tripod during a shooting session, for example. The case is divided into two separate compartments: the larger one holds the filter holder, the associated 82mm ring, and the mounted CPL, while the smaller one holds the adapter rings. Objectively, there’s nothing to complain about, but it’s still a matter of taste. Personally, I find the whole thing too bulky to carry around all the time. I would only take the filter holder system itself, which I can simply store in one of my camera bag pockets, and keep the adapter rings somewhere else. That said, in terms of quality, there is nothing to criticize. It looks very good.


NISI V7 filter holder and 82mm ring
When I first saw the filter holder, the whole thing looked extremely solid. Compared with other filter holders I have reviewed recently, the NISI V7 filter holder is much heavier, sturdier, and gives a real feeling of robustness. In my opinion, that’s a very good thing. According to the specifications, it is made from aircraft-grade aluminum. The filter holder is matte black, with no unwanted reflections. It comes with a snap-on sliding rail system (three rails are fitted by default) on both sides of the holder. Three screws are used to attach the rails to the filter holder. I immediately tried inserting a GND filter I already had (from another brand), just to see how it felt. Honestly, I was impressed by how well the sliding system is made. You can feel that the filters hold perfectly in place and are unlikely to fall out. With other models I’ve tested, I had always been only moderately satisfied with the holding system, which felt a bit more “low-end” and did not grip the filter firmly enough for my taste. From experience, I would say these rails are neither too tight nor too loose, which is another very positive point.
On one side of the filter holder, there is a two-in-one wheel system. You get a small locking screw to secure the whole setup (and avoid dropping the filter holder), plus an external knob to detach the filter holder from the 82mm ring, which you can leave on the front of your lens. It’s quite well thought out, even if in practice (I’ll come back to this below), I would always leave the 82mm ring attached to the filter holder.

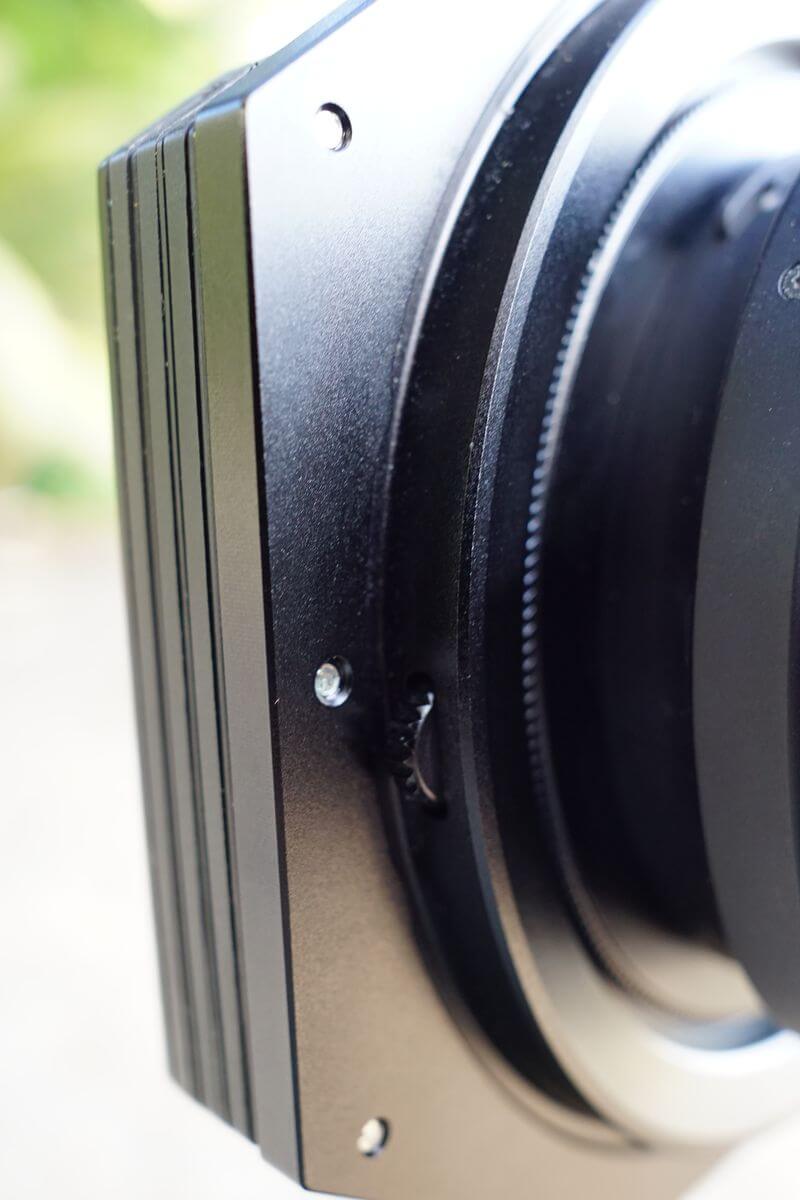


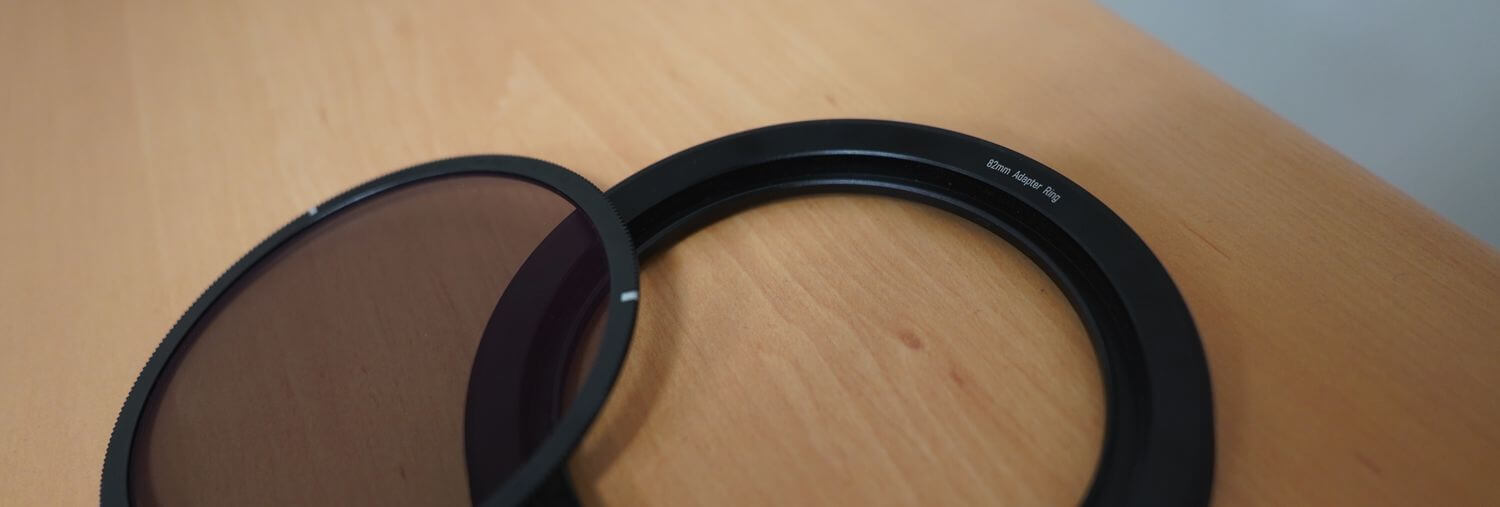
The 82mm adapter ring was already attached to the filter holder when I received the kit. This 82mm adapter ring is used as the main base for the system, since it allows you to mount the CPL polarizing filter included in the package. The ring is threaded on the back, so smaller adapter rings can be fitted to it (I’ll talk about this below in the “installation” section). On top of the 82mm ring, three arrows indicate where the magnetic CPL polarizing filter should be placed. On the side, two small knobs allow you to rotate the front part of the ring, where the CPL filter sits. This is how you adjust the level of polarization while shooting, while still being able to use ND or GND filters if you want. Those filters slide into the slots. I’ll share my thoughts on these knobs below. In any case, both the ring and the filter holder feel very solid.
Accessories
A few words about the accessories included in the kit:
- The three step-up adapter rings are classic ones, with nothing particular to report on that side. They allow you to use lenses with smaller filter diameters,
- The protective cap included in the kit protects the CPL filter once it is mounted on the filter holder system. It is only compatible with this 82mm ring. The yellow and gray cap feels very sturdy, especially the central part, which protects the CPL. The only thing to know is that you need to remove the 82mm ring from the filter holder in order to put this protective cap on,
- Finally, the True Color CPL polarizing filter seems to be very good quality at first glance. It is very slim and fits perfectly onto the supplied 82mm ring. One small thing, though: I would have preferred the “Unlock – Lock” markings on the CPL to be written in white rather than black. It took me a little while to understand how to position the CPL on the ring according to the white arrows. More details on that in the assembly section just below.

Assembly and field use
As I write this article, I’ve had the new V7 system from NISI for a few weeks. I’ve had the chance to test it in different situations. Here are my explanations on how to assemble it, along with my thoughts on both the setup and its use.
Filter holder systems are fairly simple, even if they vary from one model to another:
1 – To get started, there are two possible ways to do it, but in any case, the first piece to set up is the adapter ring for the lens. Basically, the 82mm adapter ring is mounted on the filter holder and stays there. You just need to know your lens diameter in relation to the ring diameter. For example, I chose to use my Tamron 20mm f/2.8 for this review. It has a 67mm filter diameter. I can either screw the 67-82mm step-up ring onto the front of my lens or screw the 67mm step-up ring onto the back of the 82mm adapter ring (which is less convenient in my opinion).

The advantage of having 67, 72, and 77mm rings, as you can see, is that I can use this filter holder system on any lens with one of these diameters. If I had a lens with a 55mm diameter, I would only need to buy a 55-82mm ring, which would cost me less than €10, rather than buying a whole new special filter for it. If you want to know a little more about adapter rings, I actually wrote a full article on the subject.
2 – Once the adapter ring is mounted on my Tamron 20mm lens, I just need to screw the 82mm ring onto it. Of course, if you have a lens with an 82mm diameter, you don’t need to use an adapter ring and can screw this ring directly onto it. Finally, you can mount the filter holder. To do this, you need to use the two knobs on the side, making sure you loosen the locking screw and pull the larger knob to fit the filter holder onto the 82mm ring. It’s as easy as that!
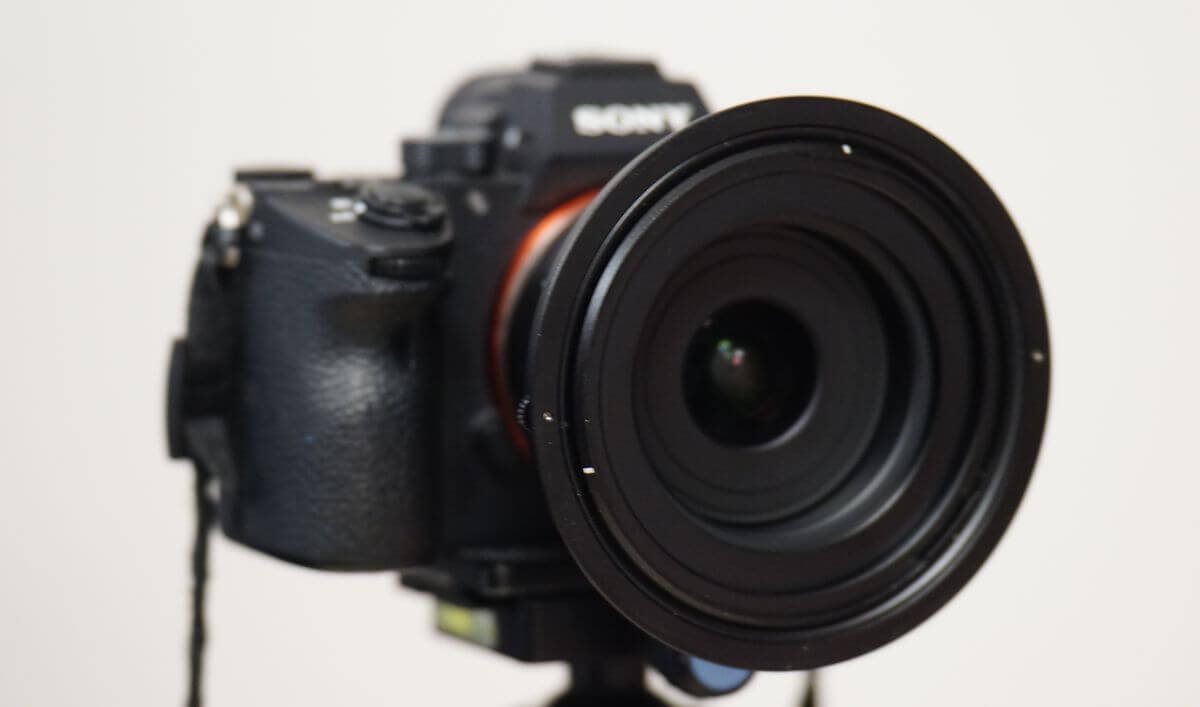

That’s it. You just need to tighten the locking screw to make sure the filter holder is securely mounted. By the way, a little tip: if you want to unscrew the whole setup together, you can do it all at once by holding the adapter ring (in my case, the 67mm ring). This avoids having to unscrew the 82mm ring first and then the adapter ring.
3 – It’s now time to mount the circular polarizing filter (CPL). I have to admit that I didn’t read the instructions, because I wanted to see whether I could understand the system on my own first. At first, I didn’t find the idea all that simple. Of course, there are three arrows on the 82mm ring, and the same three on the CPL filter. It was easy to understand that the CPL had to be placed with the three arrows aligned. However, I didn’t notice the lock/unlock marking printed on the CPL, which indicates that it needs to be turned to the right to lock it.

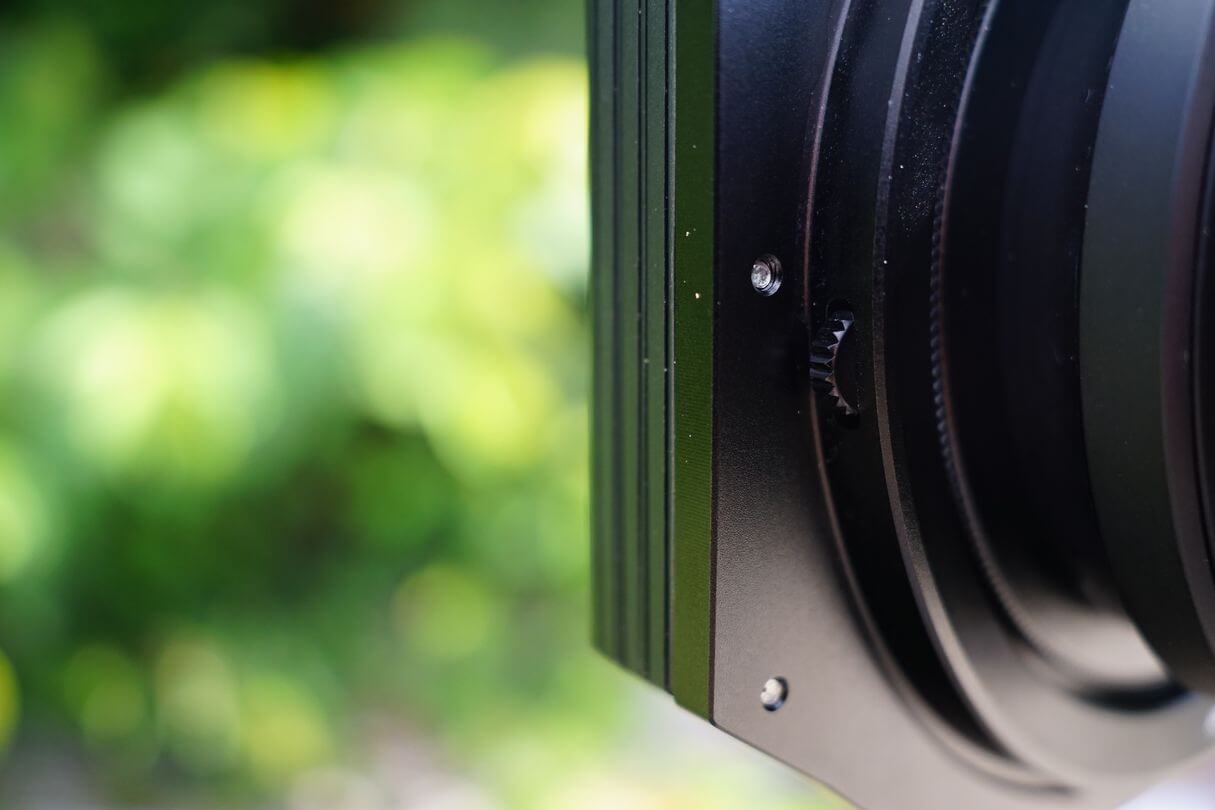
The idea is good, but the writing should have been more visible. You may understand that you have to rotate the CPL to the right to lock it, but when trying to unlock it, the whole setup can start rotating, and you may not be able to remove the filter. To make things easier, I later realized that you only need to lock one of the two knobs located at the back of the 82mm ring to unscrew the CPL without any problem. It’s a small detail, but I would have liked a small notch in the 82mm ring to make the CPL easier to remove.
I have to say I was only moderately satisfied with this part of the system, not because of the filter quality, but because of the mechanism itself. I repeated the maneuver more than a dozen times, and each time I managed to find a way for the CPL to come loose, as it does not seem to hold quite firmly enough. This is even more noticeable when you use a square filter such as a GND or ND in front of it. If you rotate the CPL with the knob, at some point you’ll feel the filter coming loose. Look more closely, and you’ll see that the CPL is actually coming off and floating between the lens and the GND. For me, this system could be improved.
4 – The final step is actually the easiest one, since you’re now ready to place square and/or rectangular filters into the filter holder slots. For your information, NISI states that you can mount up to three filters in addition to the polarizing filter, and that no vignetting will be visible with a 16mm full-frame lens.
The only comment I have here concerns the two knobs on the back of the 82mm ring, which are used to adjust the scene’s polarization. I find them a bit too small and, personally (although this is probably a matter of taste), I prefer having a larger knob on the side of the filter holder.

You may think this sounds like a long and tedious process, but the installation is actually quick and painless. As mentioned above, the filters fit perfectly and hold well in the slots. For me, that part is a success.
V6 vs. V7
Even though I never got my hands on a V6 filter holder, I thought it might be interesting to note the main differences between the NISI V6 and V7 kits. From what I could see, here are the main changes:
- A new True Color CPL with completely neutral color rendering,
- A new filter holder locking system (there are two separate wheels on the V6),
- A redesigned CPL filter installation system on the 82mm ring.
True Color CPL polarizing filter test
Toward the end of this review, I had to do a few tests to see what it was capable of. I have to say I was very pleasantly surprised. The CPL brings out contrast and colors beautifully while adding saturation. This is even more obvious when you look at the sky.
Below are a few photos shot with and without the polarizing filter.




We also performed sharpness tests with and without the filter to see whether it affected image quality. Nothing to complain about here: it’s excellent! We didn’t detect any loss of image quality with the filter mounted, which says a lot about the very good quality of this filter.
Here we are at the end of this new NISI V7 filter holder review. I was really impressed by its quality and sturdiness. In my opinion, it is clearly built to last. The system is pretty well thought out, although a few things personally bothered me, including the small knobs, which I would have preferred elsewhere, and the lock/unlock logic of the CPL, which does not feel intuitive at first. The fact that the CPL does not always stay perfectly attached, depending on how you use it, is also something that could be improved. However, once you get the hang of it, it’s no longer a real problem.
For this review, I wasn’t able to test NISI’s GND and ND filters, but the quality of the new V7 filter holder is clearly there. Compared with the one I’m currently using, it really is a no-brainer, and my old one will now stay in my bag!
We will continue to review more camera gear, and we can already tell you that we’re about to set up our first official partnership with a lens company to review their gear! We’re looking forward to it, and we’ll tell you more soon!
See you soon,

Written by Sylvain PONS
I've been passionate about photography since 2010, learning as I went along. Today, I dedicate myself to guiding others in their choice of camera gear and sharing a variety of tips to improve their photography skills.
Despite our care, a mistake may have slipped into this article. If you find any, please don't hesitate to let us know so we can correct it as soon as possible and keep our information up-to-date!