Shutter speed and exposure time in photography
Last update: 06/22/2026
Our blog continues to grow thanks to you, our readers. This post may contain affiliate links, which means we can earn a small commission if you make a purchase through them, at no extra cost to you. This helps us to continue to bring you more and support our work!
After discussing exposure in photography, aperture and ISO sensitivity, I’ll now cover shutter speed, the final parameter in the famous exposure triangle and an essential concept for understanding how to expose a photo correctly. It is one of the basics when you are learning photography. After all, if you bought a DSLR or mirrorless camera, it was probably to move beyond automatic mode, wasn’t it?
Shutter speed is a very important parameter because it is behind many of the mistakes you make when you start taking pictures. It is often the reason you end up saying: “I don’t get it, why is my photo blurry?”
Shutter speed allows you either to freeze a scene or an action, such as in sports photography, or, on the contrary, to create long exposures and give your photos a more creative effect.
What is shutter speed and how does it work?
Shutter speed refers to the exposure time during which your camera’s shutter opens and lets light reach the sensor. To put it simply, it is the length of time light enters your camera. It is a bit like opening the shutters in a room for a shorter or longer period of time. The longer the exposure time, the more light reaches the sensor and the brighter the photo will be, if you do not change any other settings. We’ll come back to that later.
On your camera, shutter speed is expressed in fractions of a second or in full seconds. Here are the standard shutter speeds used on most DSLR and mirrorless cameras.
30 sec – 15 sec – 8 sec – 4 sec – 2 sec – 1 sec – 1/2 sec – 1/4 sec – 1/8 sec – 1/15 sec – 1/30 sec – 1/50 sec – 1/80 sec – 1/125 sec – 1/250 sec – 1/500 sec – 1/1000 sec – 1/2000 sec – 1/4000 sec – 1/8000 sec
Simply put, the larger the number after 1/, the faster the photo will be taken. Also remember what we already saw in the article on aperture in photography: when you change an exposure setting by one stop, the amount of light is either doubled or halved. Here, a shutter speed of 1/500 is twice as fast as 1/250.

How to set your shutter speed
To keep things simple, you have two main ways to control your shutter speed. A third semi-automatic option can also influence it. You can use:
Shutter priority mode
Often called Tv or S mode, this mode is available on all DSLR and mirrorless cameras and lets you choose the shutter speed you want. In practice, you use it when you want to set a specific shutter speed for a scene or action. For example, if you want to freeze the movement of a bird in flight, you may need a minimum shutter speed of around 1/2000. You can set that speed on your camera, and it will adjust the other settings for you: aperture and ISO, if you have left ISO on automatic. You usually use this mode when you absolutely need fast shutter speeds. For example, it is not very useful for landscape photography. Want to know more about ISO sensitivity?
The downside is that you do not directly control your lens aperture, which is what mainly influences the amount of background blur, or bokeh, you can get.

Manual camera mode
This is the most delicate camera mode to use, and I do not recommend it until you have a good grasp of the three exposure triangle settings and how they interact. In this mode, you simply set the shutter speed you want using the dial.
Be careful, though: all the exposure settings are linked, so you will need to compensate by changing either ISO or aperture. If you do not change anything else, your photo may become overexposed if the shutter speed is too slow, or underexposed if the shutter speed is too fast. Simply put, you cannot change shutter speed alone without affecting the overall exposure of your photo. So you need to understand how to adjust ISO and aperture too, and what each change will do to your image. I’ll let you refer to the two articles I wrote on those topics.
Aperture priority mode
Finally, the last mode that lets you influence shutter speed is aperture priority mode, often abbreviated as Av or A. In reality, you do not choose the shutter speed directly; instead, you influence it by changing your aperture.
With Av mode, you choose your aperture and, assuming your ISO is set to auto, the camera automatically adjusts the shutter speed to balance the exposure of your photo.
Example: you are shooting at f/5.6 and 1/250, but your photo is still blurred, for example because your subject is moving quickly. You can open your aperture by one stop, from f/5.6 to f/4. In that case, remember that you are letting in twice as much light. To compensate, the camera will shoot twice as fast, at 1/500. You get the idea: if that is still not enough, you can open up to f/2.8, and the camera should now shoot at 1/1000.


Examples of scenes where I used Av mode to influence shutter speed and blur the background
A shutter speed that is too slow: motion blur and camera shake
Now that we have seen what shutter speed is and how to use it on your camera, I’ll explain the downside of using a shutter speed that is too slow. In short, if your shutter speed is too slow, you may end up with a blurry photo. With a tripod, of course, you can get away with much slower speeds.
Camera shake
Camera shake is simply blur caused mainly by the photographer, not by the scene being photographed. There are several common scenarios:
- You moved during the shot and your shutter speed was too slow,
- You are shooting in low light, such as early morning or evening, you do not have a tripod, and the conditions do not allow you to shoot handheld: your photo comes out blurry,
- You are using a non-stabilized lens, which means you lose around 2 to 4 stops of stability in theory,
- Finally, you are using a long focal length, for example 300mm, and the chosen shutter speed is too slow for that focal length. The general rule is to use a shutter speed at least equivalent to the focal length: for 300mm, use at least 1/300. It also depends on your sensor size.
Keep in mind that, most of the time, depending on you and on the focal length used, you may struggle to get sharp handheld photos below 1/50.
Motion blur
Motion blur is different from camera shake because it does not come from the photographer, but from the scene in front of you. It can be a passer-by walking through your frame, a bird crossing the sky, or an animal moving too fast for the chosen shutter speed. In short, either your subject is too fast for your shutter speed, or your shutter speed is too slow for the speed of your subject.
Some photos, such as wildlife, flying aircraft or an antelope running on safari, necessarily require a fast shutter speed, often above 1/1000 or even 1/2000.
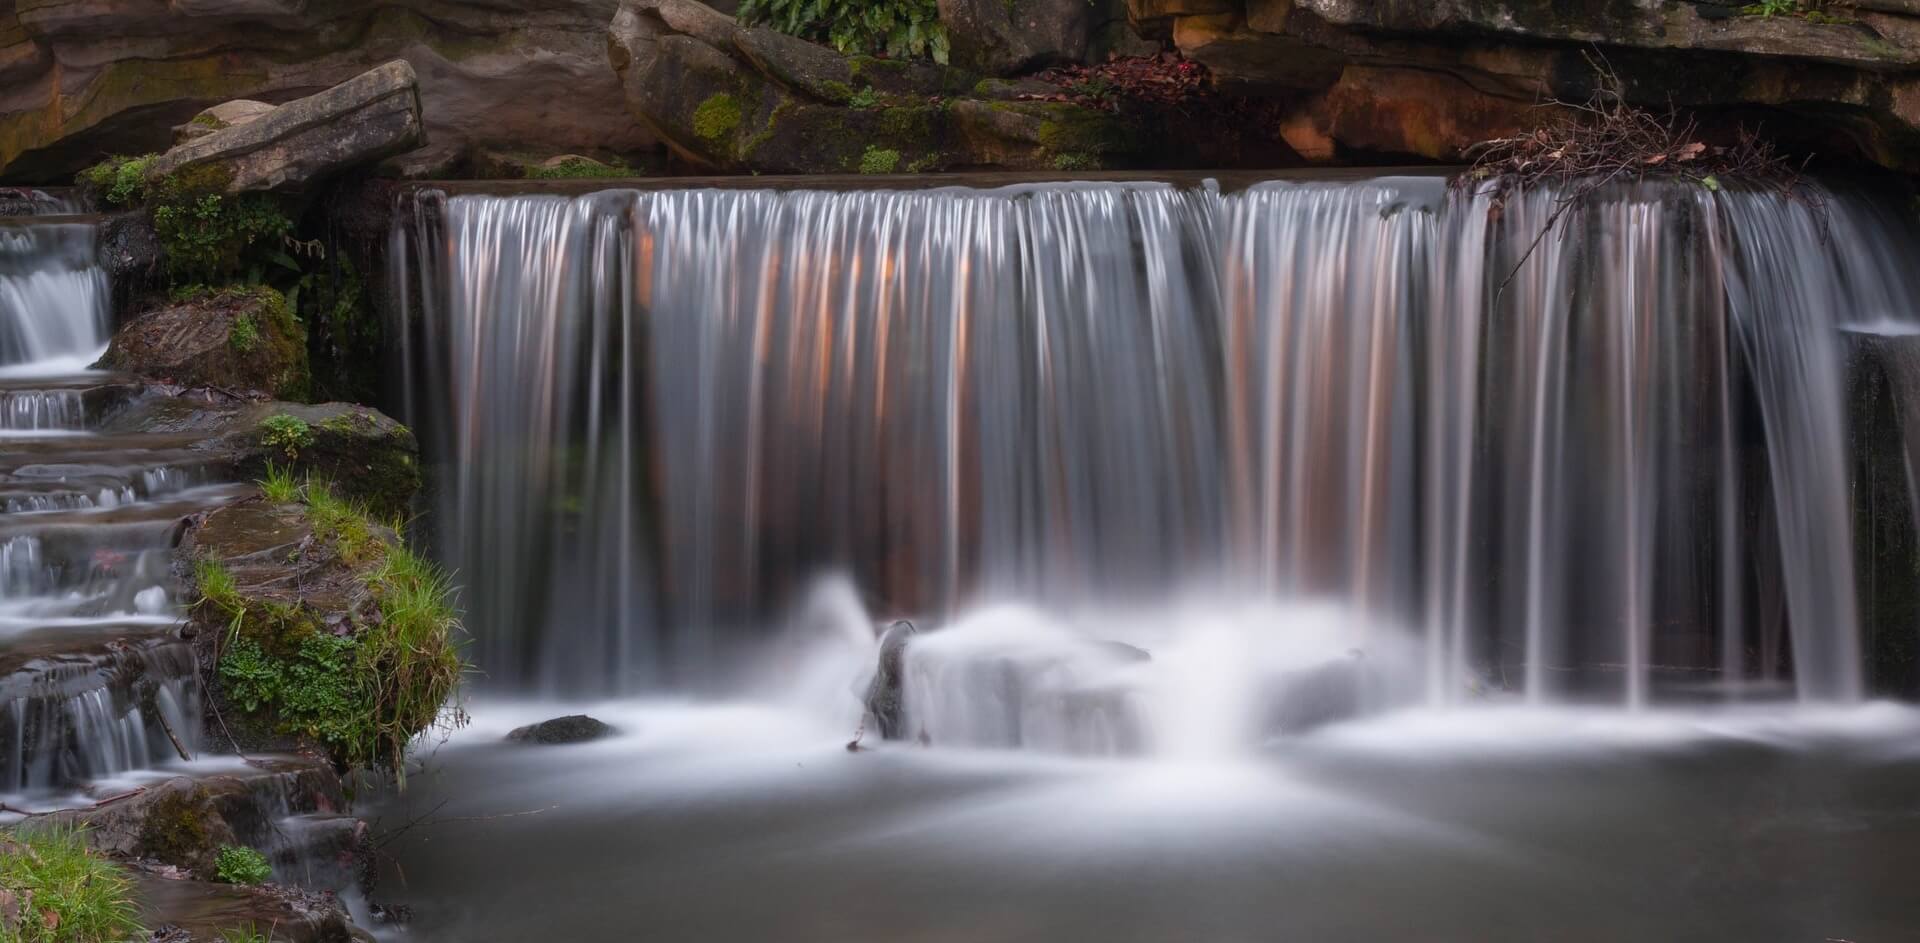
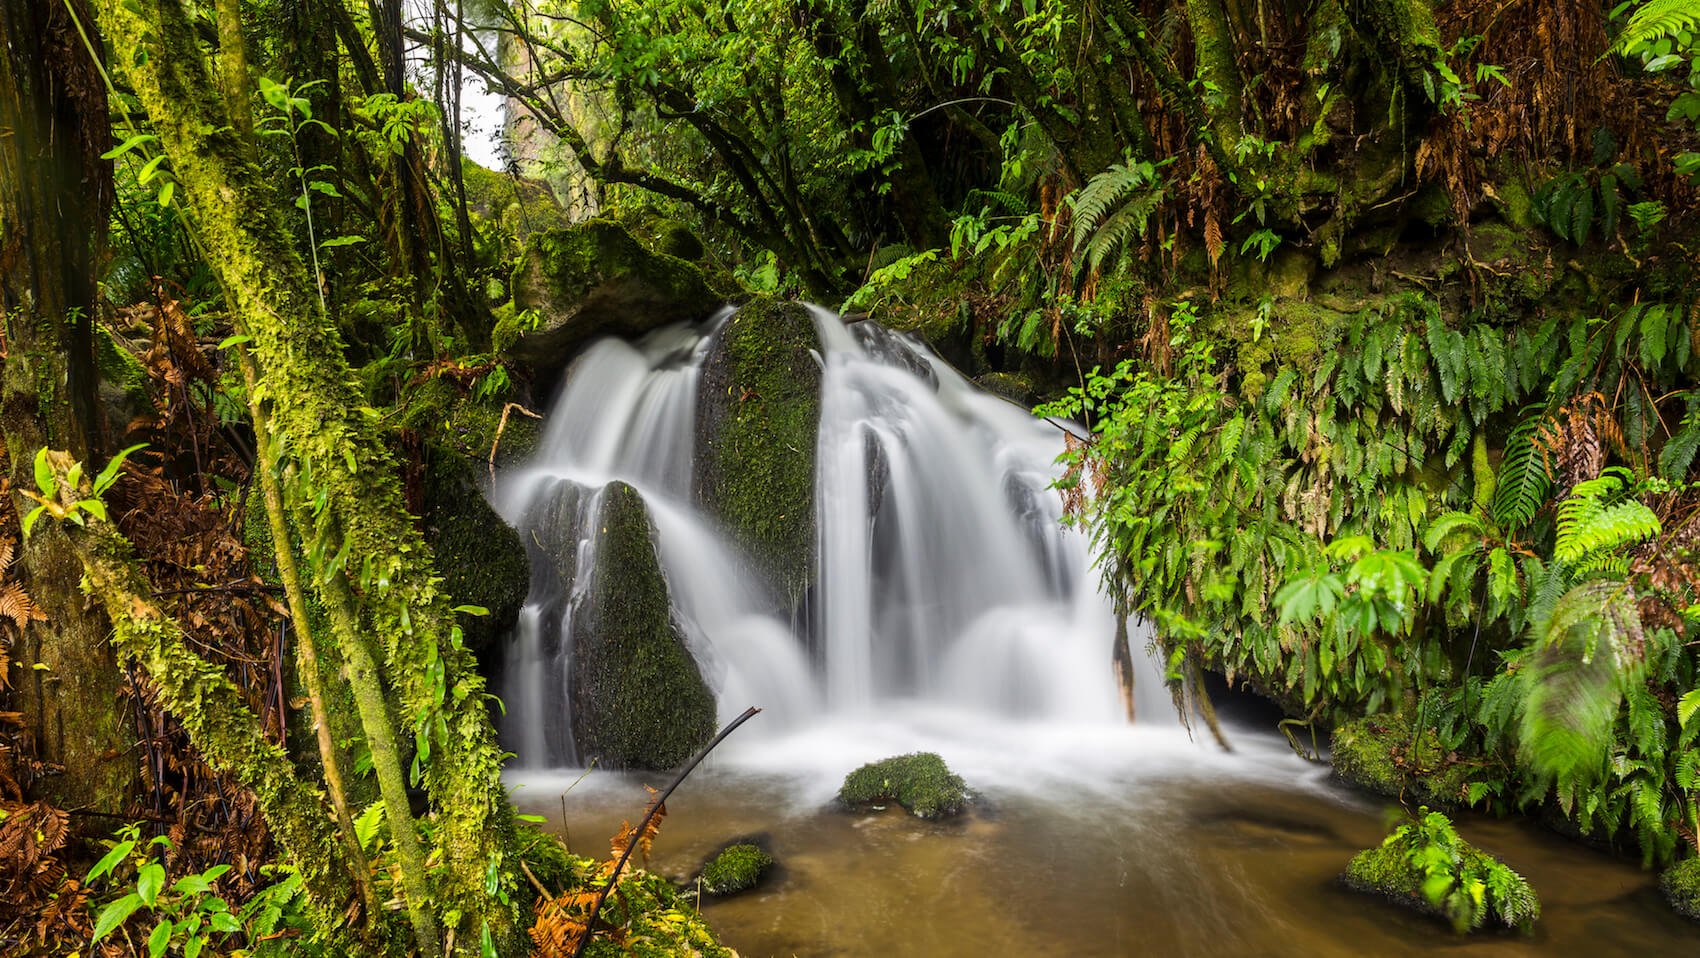
You may also want to create a sense of movement in your scene by using a slower shutter speed, for example with a passer-by walking or a running waterfall. In that case, you deliberately choose a slower shutter speed.
Relationship between shutter speed, aperture and ISO
As mentioned in the article on exposure in photography, you should now understand that the three settings, ISO, aperture and shutter speed, are closely linked. It is impossible to change one of them without affecting the final image.
The main thing is to understand when you need to use a slow shutter speed or a fast one, and what effect that choice will have on your photo.
In some specific situations, you will have no choice but to use a fast, or even very fast, shutter speed to capture movement in your scene. I’m thinking mainly of wildlife photography, such as safari or bird photography. In many cases, a shutter speed of 1/1000 or faster will be necessary. You have several options here.
- You can use Tv mode, or shutter priority, and set your exposure time to 1/1000. The camera will adjust the aperture according to the shutter speed you selected. Depending on the light, the camera will use a large aperture to compensate for the loss of light. Remember: the faster the shutter speed, the less light enters the camera. For example, you may reach the limits of your lens here. Once the maximum aperture is reached, say f/4, you will have no choice but to increase the ISO. Every time you double the ISO, you can use a shutter speed twice as fast.
- It is a bit like using Av mode to force the camera to blur the background. A typical example would be wanting to highlight an animal against a blurred background. You set the maximum aperture of your lens, say f/4. The camera then automatically calculates the associated shutter speed. If it is fast enough, you can shoot. If the photo is blurred because the animal is moving too fast, your only option will be to increase the ISO by one stop to double your shutter speed.
f/4 ISO 200 1/1000
OR
f/2.8 ISO 100 1/1000
OR
f/2.8 ISO 200 1/2000
As a reminder, these three combinations give the same exposure. The difference is simply that at 1/2000, you are less likely to get a blurry photo than at 1/1000.
Creative effects with shutter speed
This is the last important point to understand about shutter speed in photography. Along with aperture, shutter speed is one of the settings that gives you the most creative control over your photos. There are three interesting practical uses when playing with shutter speed:
Freeze movement in a scene


Examples of scenes where a fast shutter speed was required: flying birds on the left and dancers on the right
This is obviously the first thing that comes to mind. If you want to freeze a specific scene, shutter speed is the setting you need to pay attention to. Entry-level and mid-range cameras usually offer maximum shutter speeds of 1/4000, while professional cameras can go up to 1/8000.
Panning
This is a specific technique that I do not fully master yet, I admit. The idea is to use it on a fast-moving subject, such as a racing car or bicycle, with a relatively slow shutter speed, usually between 1/30 and 1/125 of a second. This creates a sense of dynamism around a moving subject by producing a background that is not simply blurred, but gives a real impression of motion. This technique is mainly used in motorsport photography. Once I have fully mastered it, I’ll write a tutorial on how to create a clean panning shot.

Long exposure
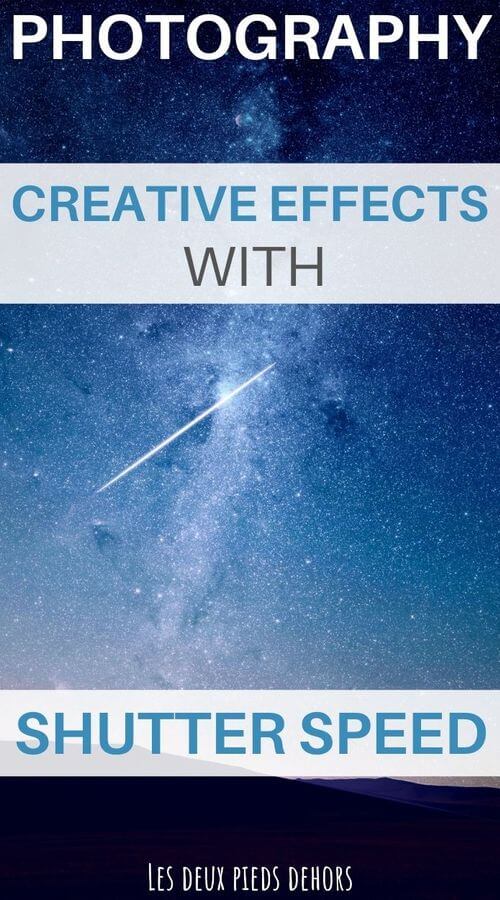
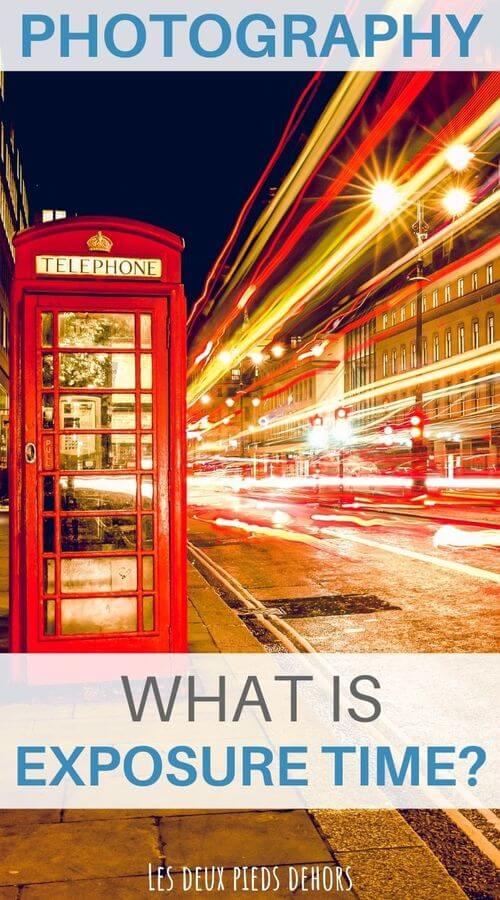
Last but not least: long exposure. This is probably what interests most people, especially nature and landscape photographers. By increasing the exposure time, and therefore using a slower shutter speed, this technique allows you to create striking creative effects on subjects that lend themselves well to it. To name just the most common ones: waterfalls, the sea, clouds, fairground rides and stars.
The exposure can be relatively slow, just a few fractions of a second, medium, a few seconds or tens of seconds, or very long, lasting several minutes. However, this photographic technique requires at least some learning and equipment: an ND filter, remote shutter release, tripod, and so on. Would you like to know in detail how to shoot a long exposure?

I’m coming to the end of this article on shutter speed. I hope you enjoyed it and that it wasn’t too technical. You now have everything you need to understand the famous exposure triangle. If you missed it, I invite you to read the article about aperture in photography to complete your understanding of the concept.
See you soon for another article on the basics of photography. More details on depth of field, white balance, the difference between APS-C and full frame, and more should follow.
Until then, happy learning. If you have any questions about the article, want to discuss it or need anything clarified, don’t hesitate to leave a comment at the bottom of the article!

Written by Sylvain PONS
I've been passionate about photography since 2010, learning as I went along. Today, I dedicate myself to guiding others in their choice of camera gear and sharing a variety of tips to improve their photography skills.
Despite our care, a mistake may have slipped into this article. If you find any, please don't hesitate to let us know so we can correct it as soon as possible and keep our information up-to-date!